Allowing users to upload images to your app can be a pivotal feature. Many digital products rely on it. This post will show you how to do it using PHP and AWS S3.

After launching version 1.0 of SplitWit, I decided to enhance the platform by adding features. An important A/B experiment involves swapping images. This is particularly useful on ecommerce stores that sell physical products.
Originally, users could only swap images by entering a URL. To the average website owner, this would seem lame. For SplitWit to be legit, adding images on the fly had to be a feature.
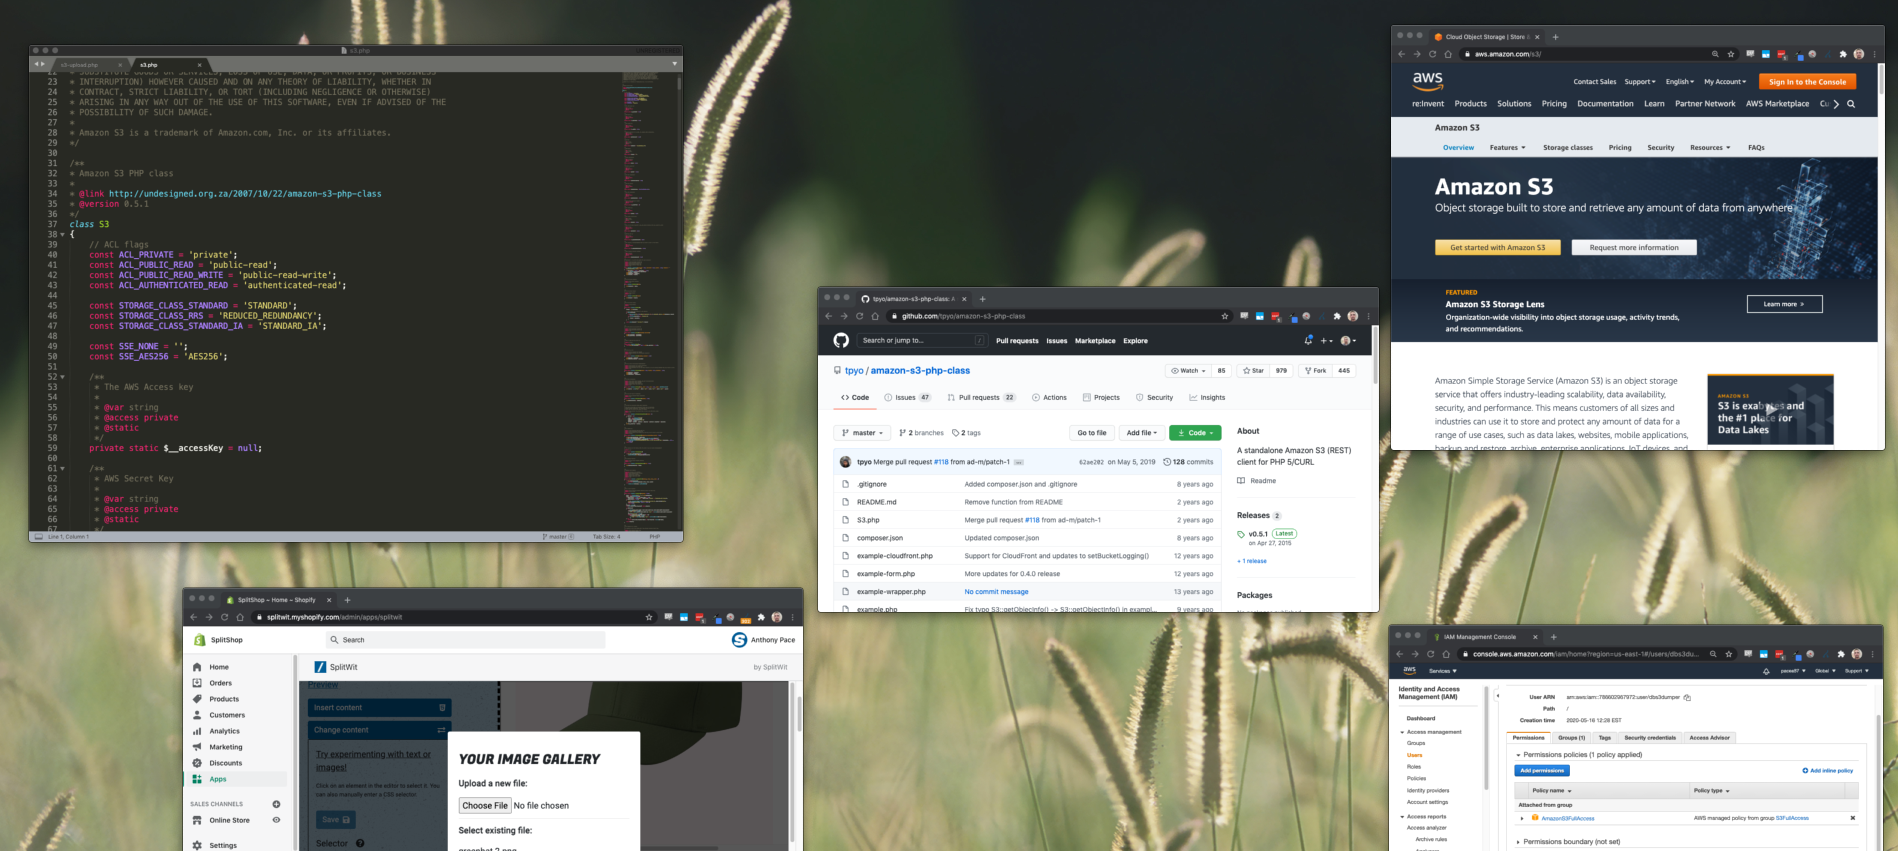
I wrote three scripts – one to upload files, one to fetch them, and one to delete them. Each leverages a standalone PHP class written by Donovan Schönknecht, making it easy to interact with AWS S3. All you’ll need is your S3 bucket name and IAM user credentials. The library provides methods to do everything you need.
AWS S3
Amazon S3 stands for “simple storage service”. It provides data storage that is scalable, secure, highly available, and performant.
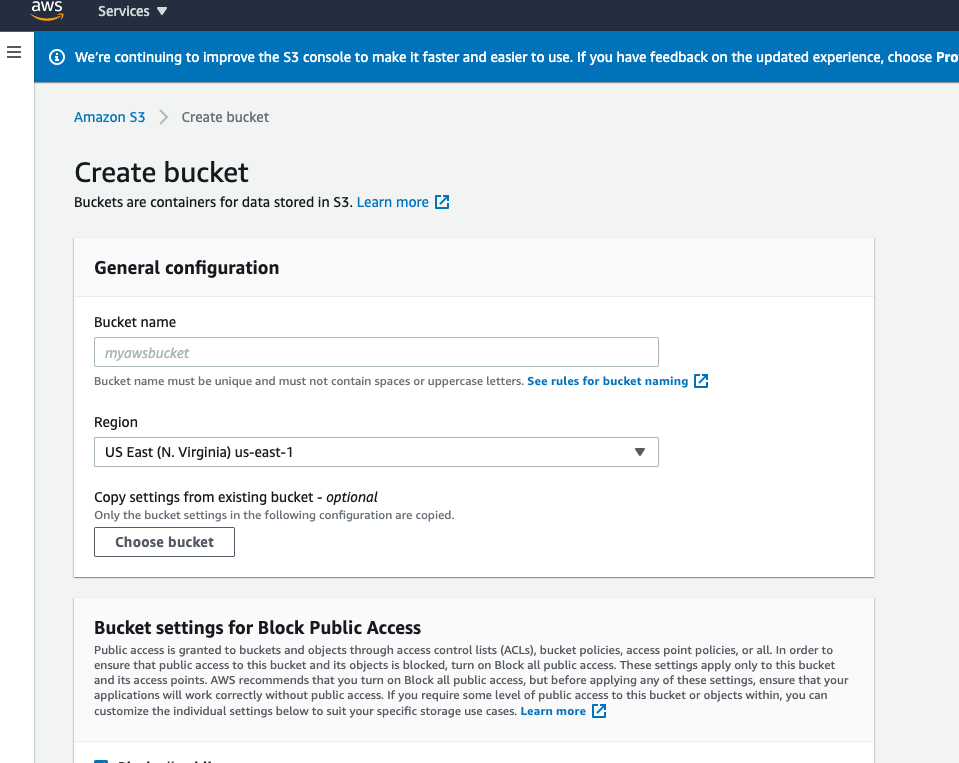
A new bucket can be created directly from the management console.

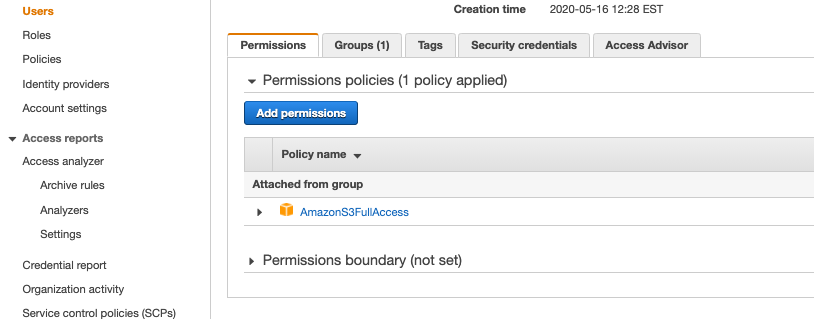
You’ll want to create a new IAM user to programmatically interact with this bucket. Make sure that new user is added to a group that includes the permission policy “AmazonS3FullAccess”. You can find the access key ID and secret in the “Security credentials” tab.

Uploading image files
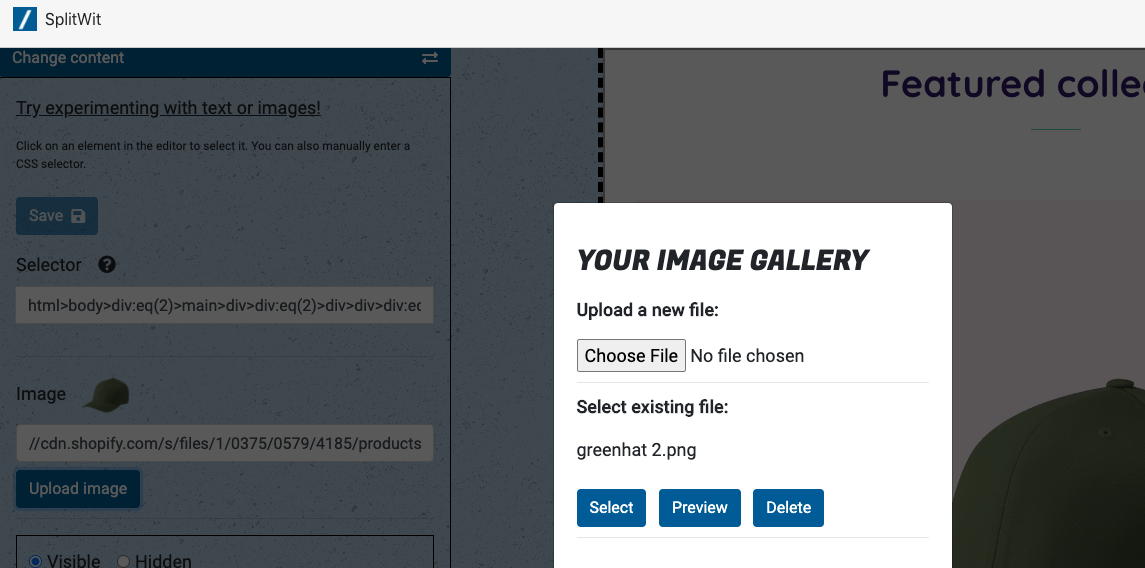
When users select an image in the visual editor, they are shown a button to upload a new file. Clicking on it opens the gallery modal.
<div id="image-gallery-modal" class="modal image-gallery-modal" style="display: none;">
  <div class="modal-content">
    <h3>Your image gallery</h3>
    <p><strong>Upload a new file:</strong></p>
    <input class="uploadimage" id="uploadimage" type="file" name="uploadimage" />
    <p class="display-none file-error"></p>
    <div><hr /></div>
    <div class="image-gallery-content"></div>
    <p class="loading-images"><i class="fas fa-spinner fa-spin"></i> Loading images...</p>
  </div>
</div>
The HTML file-type input element presents a browser dialog to select a file. Once selected, the image data is posted to the S3 upload script. The newly uploaded image then replaces the existing image in the visual editor.
$(".uploadimage").change(function(){

    var file = $(this)[0].files[0];
    var formData = new FormData();
    formData.append("file", file, file.name);
    formData.append("upload_file", true);

    $.ajax({
      type: "POST",
      url: "/s3-upload.php",
      xhr: function () {
        var myXhr = $.ajaxSettings.xhr();
        if (myXhr.upload) {
            // myXhr.upload.addEventListener('progress', that.progressHandling, false);
        }
        return myXhr;
      },
      success: function (response) {
        console.log(response);

        document.getElementById("uploadimage").value = "";

        if(response !== "success"){
          $(".file-error").text(response).show();
          setTimeout(function(){ $(".file-error").fadeOut();}, 3000)
          return;
        }

        $("#image-gallery-modal").hide();
        loadS3images();
        var newImageUrl = "https://splitwit-image-upload.s3.amazonaws.com/<?php echo $_SESSION['userid'];?>/" + file.name;
        $("input.img-url").val(newImageUrl);
        $(".image-preview").attr("src", newImageUrl).show();
        $(".image-label .change-indicator").show();

        //update editor (right side)
        var selector = $(".selector-input").val();
        var iFrameDOM = $("iframe#page-iframe").contents()
        if($(".element-change-wrap").is(":visible")){
          iFrameDOM.find(selector).attr("src", newImageUrl).attr("srcset", "");
          $(".element-change-save-btn").removeAttr("disabled");
        }
        if($(".insert-html-wrap").is(":visible")){
          var position = $(".position-select").val();
          var htmlInsertText = "<img style='display: block; margin: 10px auto;' class='htmlInsertText' src='"+newImageUrl+"'>";
          iFrameDOM.find(".htmlInsertText").remove();
          if(position == "before"){
            iFrameDOM.find(selector).before(htmlInsertText);
          }
          if(position == "after"){
            iFrameDOM.find(selector).after(htmlInsertText);
          }
        }
      },
      error: function (error) {
        console.log("error: ");
        console.log(error);
      },
      async: true,
      data: formData,
      cache: false,
      contentType: false,
      processData: false,
      timeout: 60000
  });

});
The upload script puts files in the same S3 bucket, under a separate sub-directory for each user account ID. It checks the MIME type on the file to make sure an image is being uploaded.
<?php
require 's3.php';

$s3 = new S3("XXXX", "XXXX"); //access key ID and secret

// echo "S3::listBuckets(): ".print_r($s3->listBuckets(), 1)."\n";

$bucketName = 'image-upload';

if(isset($_FILES['file'])){
	$file_name = $_FILES['file']['name'];
	$uploadFile = $_FILES['file']['tmp_name'];

	if ($_FILES['file']['size'] > 5000000) { //5 megabyte
     	   echo 'Exceeded filesize limit.';
     	   die();
    	}
    	$finfo = new finfo(FILEINFO_MIME_TYPE);
	if (false === $ext = array_search(
	        $finfo->file($uploadFile),
	        array(
	            'jpg' => 'image/jpeg',
	            'png' => 'image/png',
	            'gif' => 'image/gif',
	        ),
	        true
	    )) {
	    	if($_FILES['file']['type'] == ""){
	    		echo 'File format not found. Please re-save the file.';
	    	}else{
		    	echo 'Invalid file format.';
		    }
     	    die();
	 }

	//create new directory with account ID, if it doesn't already exist
	session_start();
	$account_id = $_SESSION['userid'];

	if ($s3->putObjectFile($uploadFile, $bucketName, $account_id."/".$file_name, S3::ACL_PUBLIC_READ)) {
		echo "success";
	}

}
?>
After upload, the gallery list is reloaded by the loadS3images() function.
Fetching image files from S3
When the image gallery modal first shows, that same loadS3images() runs to populate any images that have been previously uploaded.
function loadS3images(){

  $.ajax({
      url:"/s3-get-objects.php",
      complete: function(response){
        gotImages = true;
        $(".loading-images").hide();
        var data = JSON.parse(response.responseText);
        var x;
        var html = "<p><strong>Select existing file:</strong></p>";
        var l = 0;
        for (x in data) {
          l++;
          var name = data[x]["name"];
          nameArr = name.split("/");
          name = nameArr[1];
          var imgUrl = "https://splitwit-image-upload.s3.amazonaws.com/<?php echo $_SESSION['userid'];?>/" + name;
          html += "<div class='image-data-wrap'><p class='filename'>"+name+"</p><img style='width:50px;display:block;margin:10px;' src='' class='display-none'><button type='button' class='btn select-image'>Select</button> <button type='button' class='btn preview-image'>Preview</button> <button type='button' class='btn delete-image'>Delete</button><hr /></div>"
        }
        if(l){
          $(".image-gallery-content").html(html);
        }

      }
    });
}
It hits the “get objects” PHP script to pull the files in the account’s directory.
<?php
require 's3.php';

$s3 = new S3("XXX", "XXX"); //access key ID and secret

$bucketName = 'image-upload';
session_start();
$account_id = $_SESSION['userid'];
$info = $s3->getBucket($bucketName, $account_id);
echo json_encode($info);

?>
Existing images can be chosen to replace the one currently selected in the editor. There are also options to preview and delete.
Delete an S3 object
When the delete button is pressed for a file in the image gallery, all we need to do is pass the filename along. If the image is currently being used, we also remove it from the editor.
$(".image-gallery-content").on("click", ".delete-image", function() {
    var parent = $(this).parent();
    var filename = parent.find(".filename").text();
    var currentImageUrl = $(".img-url").val();
    if(currentImageUrl =="https://splitwit-image-upload.s3.amazonaws.com/<?php echo $_SESSION['userid'];?>/" + filename){
      $(".img-url").val(testSelectorElImage);
      $(".image-preview").attr("src", testSelectorElImage);
      var selector = $(".selector-input").val();
      var iFrameDOM = $("iframe#page-iframe").contents()
      iFrameDOM.find(selector).attr("src", testSelectorElImage);
    }
    $.ajax({
      method:"POST",
      data: {
        'filename': filename,
      },
      url: "/s3-delete.php?filename="+filename,
      complete: function(response){
        parent.remove();
        if(!$(".image-data-wrap").length){
          $(".image-gallery-content").html("");
        }
      }
    })

});
<?php
require 's3.php';

$s3 = new S3("XXX", "XXX"); //access key ID and secret

$bucketName = 'image-upload';
session_start();
$account_id = $_SESSION['userid'];
$filename = $_POST['filename'];
if ($s3->deleteObject($bucketName, $account_id."/".$filename) ){
	echo "S3::deleteObject(): Deleted file\n";
}

?>
