Using Stripe for SAAS payments

stripe for saas payment

Letting users pay for your software service is important part of building a “Software as a Service” business. Accepting payment requires a third-party service, such as Stripe. Their PHP library makes it easy to accept credit cards and subscribe users to monthly payment plans. My examples use version 6.43. The Stripe JavaScript library is used to create secure UI elements that collect sensitive card data.

Before any coding, log into your Stripe account. Create a product with a monthly price. That product’s API ID is used to programmatically charge users and subscribe them recurring billing.

stripe product dashboard

User Interface (front end)

In this part Stripe collects the payment information, and returns a secure token that can be used server-side to create a charge. Payment does not actually happen until the token is processed on the back-end.

My software product gives users a 7-day free trial before core functionality is disabled. When they decide to activate their account they are presented with a credit card input user interface.

activate account subscription

It is built with basic HTML and CSS.

<style type="text/css">
	#card-element{
		width: 100%;
		margin-bottom: 10px; 
	}
	.StripeElement {
	  box-sizing: border-box;

	  height: 40px;

	  padding: 10px 12px;

	  border: 1px solid transparent;
	  border-radius: 4px;
	  background-color: white;

	  box-shadow: 0 1px 3px 0 #e6ebf1;
	  -webkit-transition: box-shadow 150ms ease;
	  transition: box-shadow 150ms ease;
	}

	.StripeElement--focus {
	  box-shadow: 0 1px 3px 0 #cfd7df;
	}

	.StripeElement--invalid {
	  border-color: #fa755a;
	}

	.StripeElement--webkit-autofill {
	  background-color: #fefde5 !important;
	}
</style>

<div id="stripe-payment-modal" class="modal stripe-payment-modal" style="display: none;">

	<!-- Modal content -->
	<div class="modal-content">
		<p>
		  <button type="button" class="dismiss-modal close" >&times;</button>
		</p>
		<p>Activate your account subscription.</p>
		<p><?php echo $price_point; ?> per month.</p>
		<form id="payment-form">
		  <div class="form-row">
		    <!-- <label for="card-element">
		      Credit or debit card
		    </label> -->
		    <div id="card-element">
		      <!-- A Stripe Element will be inserted here. -->
		    </div>

		    <!-- Used to display Element errors. -->
		    <div id="card-errors" role="alert"></div>
		  </div>

		  <button type="button" class="btn submit-payment">Submit Payment</button>
		</form>

  	</div>

</div>

The actual input elements are generated by Stripe’s JavaScript. The Stripe form handles real-time validation and generates a secure token to be sent to your server.

<script src="https://js.stripe.com/v3/"></script>
<script type="text/javascript">

	$(document).ready(function() {
		// var stripe = Stripe('pk_test_xxxx'); //sandbox
		var stripe = Stripe('pk_live_xxxx');

		var elements = stripe.elements();

		// Custom styling can be passed to options when creating an Element.
		var style = {
		  base: {
		    color: '#32325d',
		    fontFamily: '"Helvetica Neue", Helvetica, sans-serif',
		    fontSmoothing: 'antialiased',
		    fontSize: '16px',
		    '::placeholder': {
		      color: '#aab7c4'
		    }
		  },
		  invalid: {
		    color: '#fa755a',
		    iconColor: '#fa755a'
		  }
		};

		// Create an instance of the card Element.
		var card = elements.create('card', {style: style});

		// Add an instance of the card Element into the `card-element` <div>.
		card.mount('#card-element');

		// Handle real-time validation errors from the card Element.
		card.addEventListener('change', function(event) {
		  var displayError = document.getElementById('card-errors');
		  if (event.error) {
		    displayError.textContent = event.error.message;
		  } else {
		    displayError.textContent = '';
		  }
		});

		// Handle form submission.
		var form = document.getElementById('payment-form');
		form.addEventListener('submit', function(event) {
		  event.preventDefault();

		  stripe.createToken(card).then(function(result) {
		    if (result.error) {
		      // Inform the user if there was an error.
		      var errorElement = document.getElementById('card-errors');
		      errorElement.textContent = result.error.message;
		    } else {
		      // Send the token to your server.
		      stripeTokenHandler(result.token);
		    }
		  });
		});

		// Submit the form with the token ID.
		function stripeTokenHandler(token) {
		  // Insert the token ID into the form so it gets submitted to the server
		  var form = document.getElementById('payment-form');
		  var hiddenInput = document.createElement('input');
		  hiddenInput.setAttribute('type', 'hidden');
		  hiddenInput.setAttribute('name', 'stripeToken');
		  hiddenInput.setAttribute('value', token.id);
		  form.appendChild(hiddenInput);
		 
		  var data = $("#payment-form").serialize();
		  $.ajax({
		  	url:"/service-layer/stripe-service?method=subscribe",
		  	method: "POST",
		  	data: data,
		  	complete: function(response){
		  		console.log(response);
		  		window.location.reload();
		  	}
		  })
		}

		$(".submit-payment").click(function(){
			stripe.createToken(card).then(function(result) {
		    if (result.error) {
		    	// Inform the customer that there was an error.
		    	var errorElement = document.getElementById('card-errors');
		    	errorElement.textContent = result.error.message;
		    } else {
				$(".submit-payment").attr("disabled", "disabled").html('Working <i class="fas fa-spinner fa-spin"></i>');
		      	// Send the token to your server.
		      	stripeTokenHandler(result.token);
		    }
		  });
		});

	});

</script>

After referencing the CDN JS library, the Stripe object accepts a public API key. That object then creates a customizable element that can be mounted into an existing <div> on your webpage. In your JavaScript, you can either listen for the form to be submitted or for an arbitrary button to be clicked. Then, we rely on the Stripe object to create a card token, which we can pass along to our back-end service.

You can find test payment methods in Stripe’s documentation.

Payment

Creating a subscription

Once the token is passed along to the server, it can be used to subscribe to the monthly product. We will need to load the PHP library and provide our secret API key. The key can be found in Stripe’s web dashboard.

require_once('/stripe-php-6.43.0/init.php');
\Stripe\Stripe::setApiKey('sk_live_XXXXXXX');

A Stripe customer ID is needed to create the subscription. Our code checks if the user record already has a Stripe customer ID saved to our database (in case they signed up previously, and cancelled).  If not, we call the “customer create” method first.

function subscribe(){
	$stripe_token = $_POST['stripeToken'];
	$conn = $this->connection;
	
	if(isset($_SESSION['email'])){
		$email = $_SESSION['email'];
	}else{
		die("No email found.");
	}
	
	if(strlen($email)>0){
		$sql = "SELECT * FROM `account` WHERE email = ?"; 
		$result = $conn->prepare($sql); 
		$result->execute(array($email));
		$row = $result->fetch(PDO::FETCH_ASSOC);
	}
	$customer_id = $row['billing_customer_id'];
	//check if this account already has a billing_customer_id
	if(strlen($customer_id) < 1){
		//if not, create the customer
		$customer = \Stripe\Customer::create([
		  'email' => $email,
		  'source' => $stripe_token,
		]);
		$customer_id = $customer['id'];
		//write stripe ID to db
		$sql = "UPDATE `account` SET billing_customer_id = ? WHERE email = ?"; 
		$result = $conn->prepare($sql); 
		$result->execute(array($customer_id, $email));
	}

	// Create the subscription
	$subscription = \Stripe\Subscription::create([
	  'customer' => $customer_id,
	  'items' => [
	    [
	      // 'plan' => 'plan_FjOzMSMahyM7Ap', //sandbox.
	      'plan' => 'price_1He7vwLjg3FTECK8lb3GDQhV', //"basic" plan. setup in Stripe dashboard.
	    ],
	  ],
	  'expand' => ['latest_invoice.payment_intent'],
	  'billing_cycle_anchor' => time()
	]);
	$subscription_status = $subscription['status'];
	$subscription_id = $subscription['id'];
	if($subscription_status == "active"){
		//set current_period_end to 32 days (1 month plus some leeway) in the future. set past_due as false 
		$sql = "UPDATE `account` SET stripe_subscription_id = ?, current_period_end = ?, past_due = 0 WHERE email = ?"; 
		$result = $conn->prepare($sql);
		$past_due = false;
		$current_period_end = new DateTime;  
		$current_period_end->modify( '+32 day' );
		$current_period_end = $current_period_end->format('Y-m-d H:i:s'); 
		$result->execute(array($subscription_id, $current_period_end, $email));
	}
}

With the subscription complete, their account’s “past due” property is marked as false and “current period end” is recorded to about 1 month in the future. The Stripe subscription ID is recorded for later use and reference.

Subscription life-cycle workflow

The application knows if an account is paying for premium service based on that “past due” property. After a user first signs up, that value is managed by a nightly scheduled cron job. If the “current period end” date is in the past, “past due” is marked as true, all projects are turned off, and a notification email is sent.

function checkPastDue(){	
	$sql = "SELECT * FROM `account` WHERE past_due = '0'";
	$result = $conn->prepare($sql); 
	$result->execute(); 
	$rows = $result->fetchAll(PDO::FETCH_ASSOC);
	$number_of_rows = $result->rowCount();
	
	include 'send-email-service.php';	

	foreach ($rows as $key => $value) {
		$current_period_end = $value['current_period_end'];
		$date = new DateTime($current_period_end);
		$now = new DateTime();
		if($date < $now) {
		   
		    //extend their trial 1 time, for an additional week
		    $extended_trial = $value['extended_trial'];
		    $accountid = $value['accountid'];
		    $email = $value['email'];
		    $billing_customer_id = $value['billing_customer_id'];
		    if($extended_trial == 0 && strlen($billing_customer_id) == 0){

		    	$sql = "UPDATE `account` SET extended_trial = '1' WHERE accountid = ?";
				$result1 = $conn->prepare($sql); 
				$result1->execute(array($accountid)); 

				$current_period_end = new DateTime;  
				$current_period_end->modify( '+8 day' );
				$current_period_end = $current_period_end->format('Y-m-d H:i:s'); 

		    	$sql = "UPDATE `account` SET current_period_end = ? WHERE accountid = ?";
				$result1 = $conn->prepare($sql); 
				$result1->execute(array($current_period_end, $accountid)); 
				 
				$SendEmailService = new SendEmailService();
				
				$subject = "SplitWit trial extended!";

				$body = "Your SplitWit trial was supposed to expire today. As a courtesy, we're extending it another 7 days!<br><br>";
				
				$altBody = "Your SplitWit trial was supposed to expire today. We're extending it another 7 days!";

				$SendEmailService -> sendEmail($subject, $body, $altBody, $email);


		    }else{
				
				$sql = "UPDATE `account` SET past_due = '1' WHERE accountid = ?";
				$result1 = $conn->prepare($sql); 
				$result1->execute(array($accountid)); 
				
				//turn off all experiments
				$status = "Not running";
				$sql = "UPDATE `experiment` set status = ? where accountid = ?";
				$result2 = $conn->prepare($sql); 
				$result2->execute(array($status, $accountid));


				//update all snippets for this account (1 snippet per project)
				$sql = "SELECT * FROM `project` WHERE accountid = ?";
				$result3 = $conn->prepare($sql); 
				$result3->execute(array($accountid));
				$rows3 = $result3->fetchAll(PDO::FETCH_ASSOC);
				foreach ($rows3 as $key3 => $value3) {
					$projectid = $value3['projectid'];
			    	$write_snippet_service = new ProjectService();
					$write_snippet_service -> writeSnippetFile(false, false, $projectid);
				}
				
				$SendEmailService = new SendEmailService();
				$subject = "SplitWit account past due";

				$body = "Your SplitWit account is past due. Please login to your account and update your payment information to continue running A/B experiments.<br><br>";
				
				$body .= "A/B testing helps you increase conversion rates and avoid unnecessary risk. <a href='https://www.splitwit.com/blog/'>Check out the SplitWit blog for experiment ideas</a>. Remember, everything is testable!";
				 
				$body .= "<br><br><a href='https://www.splitwit.com/'><img src='https://www.splitwit.com/img/splitwit-logo.png'></a>";

				$altBody = "Your SplitWit account is past due. Please login to your account and update your payment information to continue running A/B experiments. A/B testing helps you increase conversion rates and avoid unnecessary risk. Check out the SplitWit blog for experiment ideas: https://www.splitwit.com/blog/ ";

				$SendEmailService -> sendEmail($subject, $body, $altBody, $email);

		    }
			
		}
	}

}

The “current period end” date is updated each month after the customer is invoiced.

webhook payment success

When the Stripe “payment succeeded” event happens, a webhook triggers our custom end-point code.

function webhookPaymentSuccess(){
	$payload = @file_get_contents("php://input"); 
	$endpoint_secret = "whsec_XXXX";

	$sig_header = $_SERVER["HTTP_STRIPE_SIGNATURE"];
	$event = null;

	try {
	  $event = \Stripe\Webhook::constructEvent(
	    $payload, $sig_header, $endpoint_secret
	  );
	} catch(\UnexpectedValueException $e) {
	  // Invalid payload
	  http_response_code(400); // PHP 5.4 or greater
	  exit();
	} catch(\Stripe\Error\SignatureVerification $e) {
	  // Invalid signature
	  http_response_code(400); // PHP 5.4 or greater
	  exit();
	}
	
	if($event->type == 'invoice.payment_succeeded'){

		$invoice = $event->data->object;
		$customer_id = $invoice['customer'];
		//update their accocunt current_period_end
		$conn = $this->connection;
		$sql = "UPDATE `account` SET  current_period_end = ?, past_due = 0 WHERE billing_customer_id = ?"; 
		$result = $conn->prepare($sql);
		$past_due = false;
		$current_period_end = new DateTime;  
		$current_period_end->modify( '+32 day' );
		$current_period_end = $current_period_end->format('Y-m-d H:i:s'); 
		$result->execute(array($current_period_end, $customer_id));
	}else{
		http_response_code(400);
	    exit();
	}
	
	http_response_code(200);
	// var_dump($payload);
}

Although there is a webhook available for payment failure, the scheduled cron job handles that scenario.

If a user decides to cancel their subscription, we use their Stripe subscription ID and update their account records.

function cancelSubscription(){
	include '/var/www/html/service-layer/project-service.php';
	$conn = $this->connection;
	if(isset($_SESSION['userid'])){
		$accountid = $_SESSION['userid'];
	}else{
		die("No userid found.");
	}
	
	if(strlen($accountid)>0){
		
		$sql = "SELECT * FROM `account` WHERE accountid = ?"; 
		$result = $conn->prepare($sql); 
		$result->execute(array($accountid));
		$row = $result->fetch(PDO::FETCH_ASSOC);
	}
	$stripe_subscription_id = $row['stripe_subscription_id'];
	$subscription = \Stripe\Subscription::retrieve($stripe_subscription_id);
	$subscription->cancel();
	
	//#TODO: We should let the cron job handle this, so the user gets the rest of their month's service.
	//turn off experiments and update snippets. clear stripe IDs. set current_period_end to yesterday. set past_due = 1
	$current_period_end   = new DateTime;  
	$current_period_end->modify( '-1 day' );
	$current_period_end = $current_period_end->format('Y-m-d H:i:s'); 
	$sql = "UPDATE `account` SET billing_customer_id = '', stripe_subscription_id = '', past_due = 1, current_period_end = ? WHERE accountid = ?"; 
	$result = $conn->prepare($sql); 
	$result->execute(array($current_period_end, $accountid));

	//turn off all experiments
	$status = "Not running";
	$sql = "UPDATE `experiment` set status = ? where accountid = ?";
	$result2 = $conn->prepare($sql); 
	$result2->execute(array($status, $accountid));

	//update all snippets for this account (1 snippet per project)
	$sql = "SELECT * FROM `project` WHERE accountid = ?";
	$result3 = $conn->prepare($sql); 
	$result3->execute(array($accountid));
	$rows3 = $result3->fetchAll(PDO::FETCH_ASSOC);
	foreach ($rows3 as $key3 => $value3) {
		$projectid = $value3['projectid'];
    	$write_snippet_service = new ProjectService();
		$write_snippet_service -> writeSnippetFile(false, false, $projectid);
	}

	$this->status = "complete";
}

Being able to charge money for your web based software is an important step in building a SAAS business. Using a Stripe as your payment infrastructure makes it easy. Build stuff that people love and you can get paid to do it!

Update

I recently integrated Stripe payments for one of my apps, BJJ Tracker. I used version 13.0.0 of Stripe’s PHP library, which requires a slightly different code syntax. For this use-case I only needed to create a one-time payment instead of a subscription. I was able to create a charge on the fly, and did not need to create a “product” in the Stripe dashboard:

$stripe = new \Stripe\StripeClient('sk_test_XXX');
$customer = $stripe->customers->create([
	'email' => $_SESSION['email'],
	'source' => $stripe_token
]);
$charge = $stripe->charges->create([
	'amount' => 1000,
	'currency' => 'usd',
	'description' => 'BJJ Tracker',
	'customer' => $customer->id,
]);

$sql = "UPDATE `users` SET paid = ?, customer_id = ? WHERE ID = ?"; 
$result = $conn->prepare($sql);
 
$result->execute(array($charge->id, $customer->id, $_SESSION['userid']));


Custom UI notifications

UI feedback alerts

Showing brief notifications to website visitors is an important UI/UX component. They’re useful for providing feedback. They can communicate success, failure, or warnings.

Don Norman (The Design of Everyday Things) mentions that “Feedback is essential, but not when it gets in the way of other things, including a calm and relaxing environment” and goes on to say “Feedback is essential, but it has to be done correctly”.

A common use-case is data validation. Specifically, when logging in or signing up. If the user enters an invalid email address, or wrong login credentials, we need to let them know. The built in browser alert() is clunky and unsophisticated. Plugins are bloated and over-engineered. I wrote some basic HTML, CSS, and JavaScript that gets the job done and looks great.

My code provides two versions of the alert. The first is a basic sticky bar that fades in and out at the top of the page.
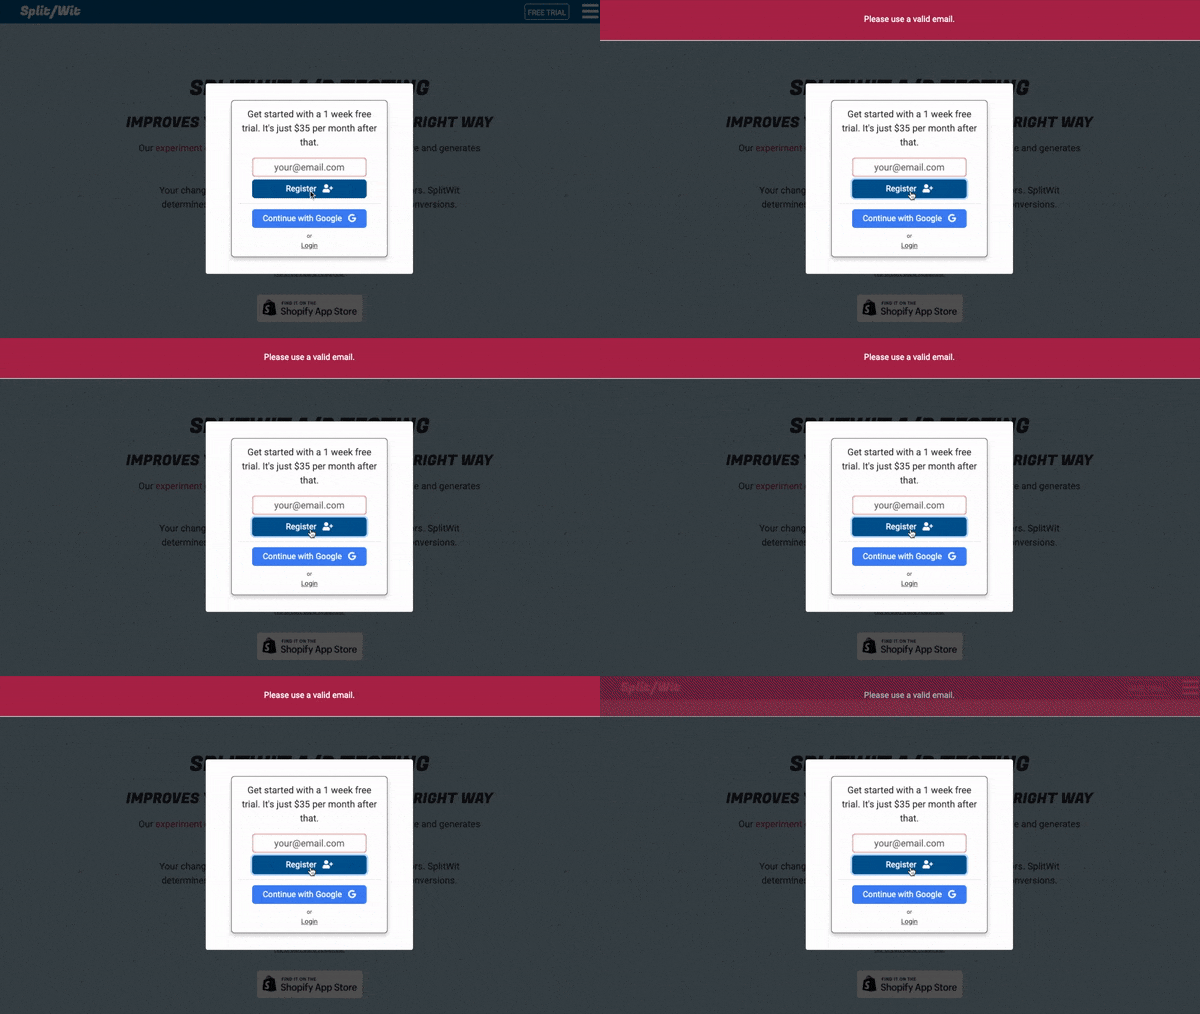
example of alert message for an invalid email address

The other flashes in the middle of the screen. I call it “in-your-face” alerts and reserve them for positive success messages.
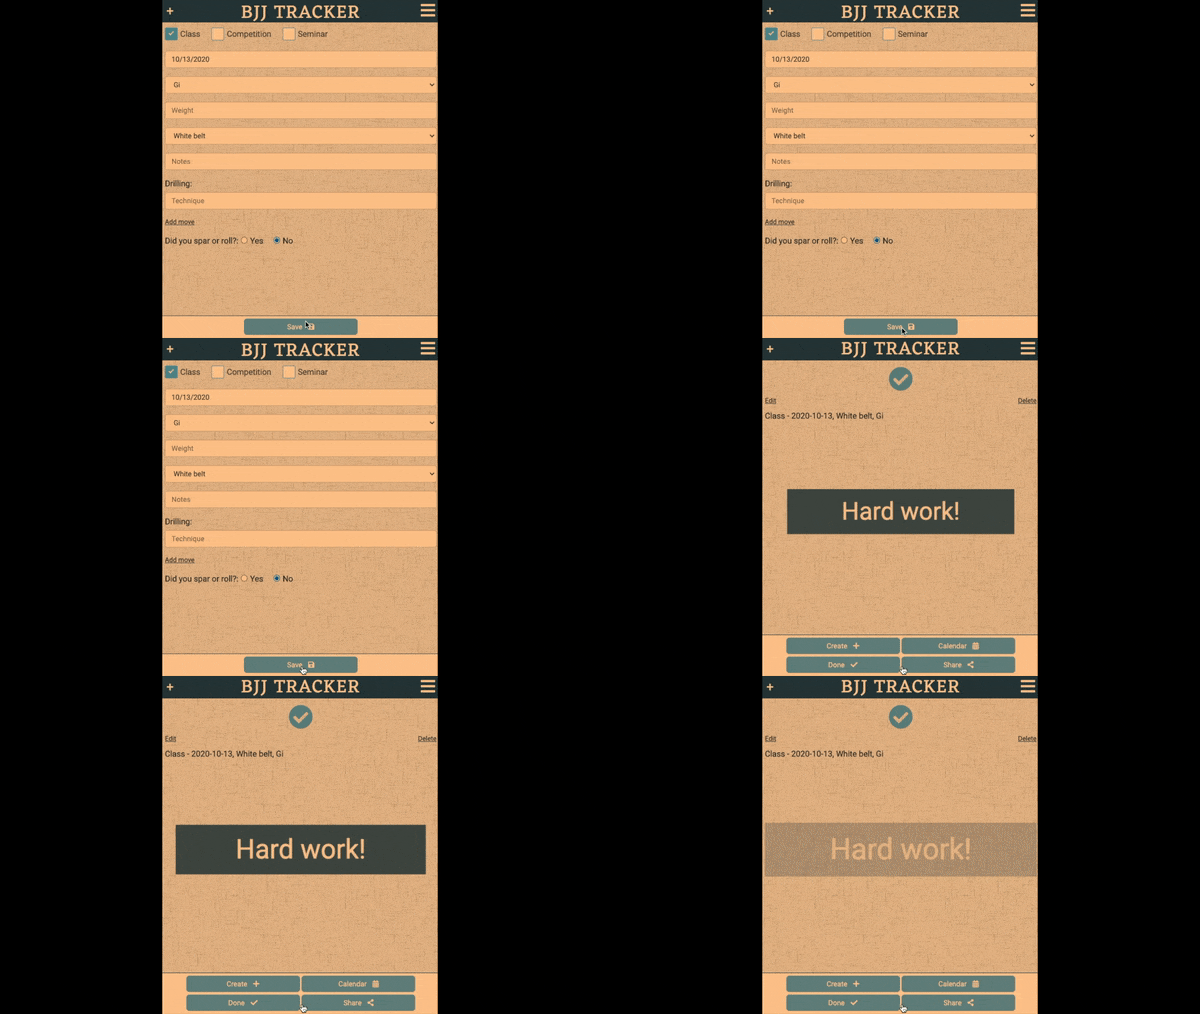
example of a flashing UI alert to provide positive feedback to users

The CSS adds styles for both versions. Both utilize ‘position: fixed’ to stay in a set location on the page. The “in-your-face” example uses a pulse animation to achieve its effect.

<!-- UI-notifications.css -->
<style>
body{
  margin: 0px;
}
.status-message{
  display: none;
  color: white;
  text-align: center;
  font-size: 16px;
  padding: 8px;
  border-top: 1px solid white;
  border-bottom: 1px solid white;
  position: fixed;
  width: 100%;
  top: 0px;
  padding: 28px 8px;
  background-color: #b12650;
  z-index: 1000;
}
.status-message-inner{
  margin: 0px;
}

.status-message-close{
  cursor: pointer;
  position: fixed;
  right: 10px;
}
.in-your-face{
  display: none;
  position: fixed;
  top: 45%;
  width: 100%;
  text-align: center;
  font-size: 48px;
  color: white;
  z-index: 2;
}
.in-your-face-inner{
    background: #005b96;
    width: 80%;
    margin: 0 auto;
    opacity: .85;
    padding: 10px;
}
@keyframes pulse{
  50%  {transform: scale(1.2);}

}
.pulse{
  animation: pulse 0.5s ease-in infinite;
}
</style>
<!-- end UI-notifications.css -->

The javascript relies on jQuery as a dependency. It is written as a class, with a constructor and two methods. Each method takes message text as a parameter.

class UINotifications {
	constructor() {
		window.jQuery || document.write('<script src="js/vendor/jquery-1.11.2.min.js"><\/script>');
		var statusMessageHtml = '<div class="status-message"><p class="status-message-inner"><span class="status-message-text">Welcome to My App</span><span class="status-message-close">X</span></p></div>';
		var inYourFaceHtml = '<div class="in-your-face pulse"><p class="in-your-face-inner"><span class="in-your-face-text">Great Job!</span></p></div>';

		$(document).on("click", ".status-message-close", function(){
			$(".status-message").fadeOut();
		});

		this.statusMessage = $("<div/>").html(statusMessageHtml);
		this.inYourFace = $("<div/>").html(inYourFaceHtml);
		
		$('body').prepend(this.inYourFace);
		$('body').prepend(this.statusMessage);

	}

 	showStatusMessage(message){
 		var notifications = this;
	  	var message = message || "Default Message"
	  	var statusMessageTimeout;
	  	
		if(notifications.statusMessage.find(".status-message").is(':visible')){
	     clearTimeout(statusMessageTimeout);
	    }

		notifications.statusMessage.find(".status-message .status-message-text").html(message);
		notifications.statusMessage.find(".status-message").fadeIn();
		
	    statusMessageTimeout = setTimeout(function(){
	       notifications.statusMessage.find(".status-message").fadeOut(); 
	    }, 5000)
		
	}
	showInYourFace(message, callback){
		var notifications = this;
		var inYourFaceTimeout;
		var inYourFaceRandoms = ["Good work!", "Hard work!", "Nice job!", "Hustle!"]

		var message = message || inYourFaceRandoms[Math.floor(Math.random()*inYourFaceRandoms.length)];;
		var callback = callback || function(){};

		if(notifications.inYourFace.find(".in-your-face").is(':visible')){
	     clearTimeout(inYourFaceTimeout);
	    }

		notifications.inYourFace.find(".in-your-face .in-your-face-text").html(message);
		notifications.inYourFace.find(".in-your-face").show();
		
	    inYourFaceTimeout = setTimeout(function(){
	       notifications.inYourFace.find(".in-your-face").fadeOut(function(){
	       	callback();
	       }); 

	    }, 1000)
	}
}

This is a simple and lightweight solution to showing web app visitors informative alerts without using a plugin. Please, checkout the code and use it in your next project.
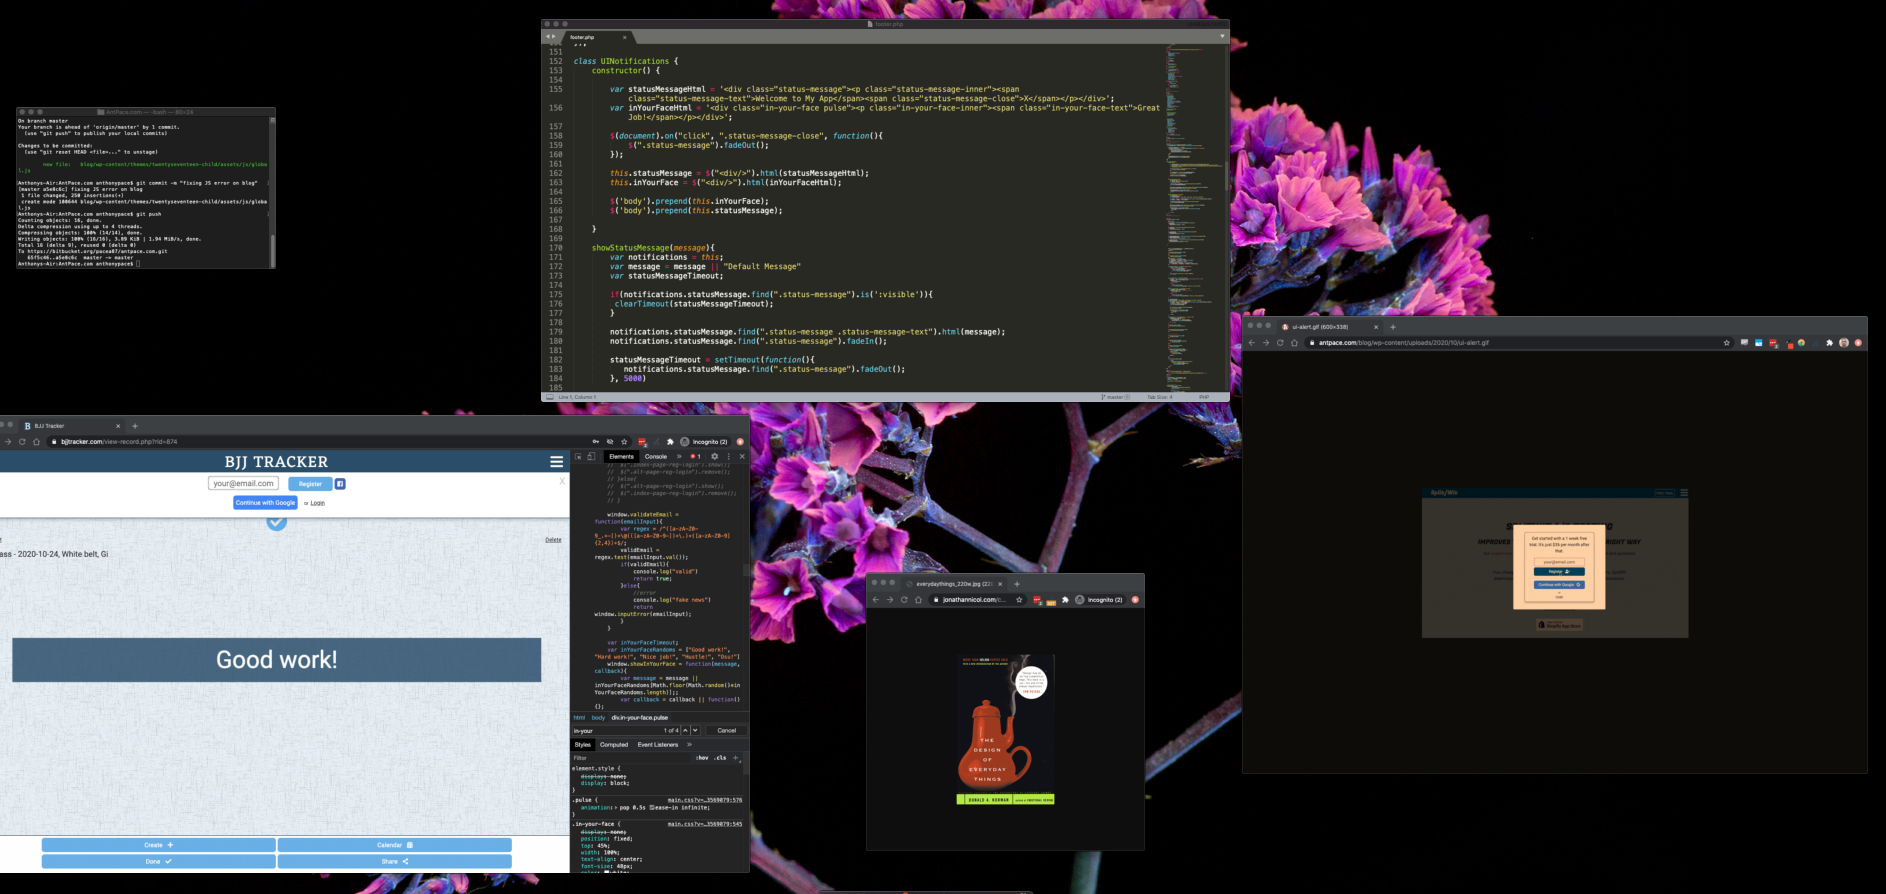
You can find the code on GitHub.

React JS & Yup: only require an input, if another is not empty

React JS and Yup

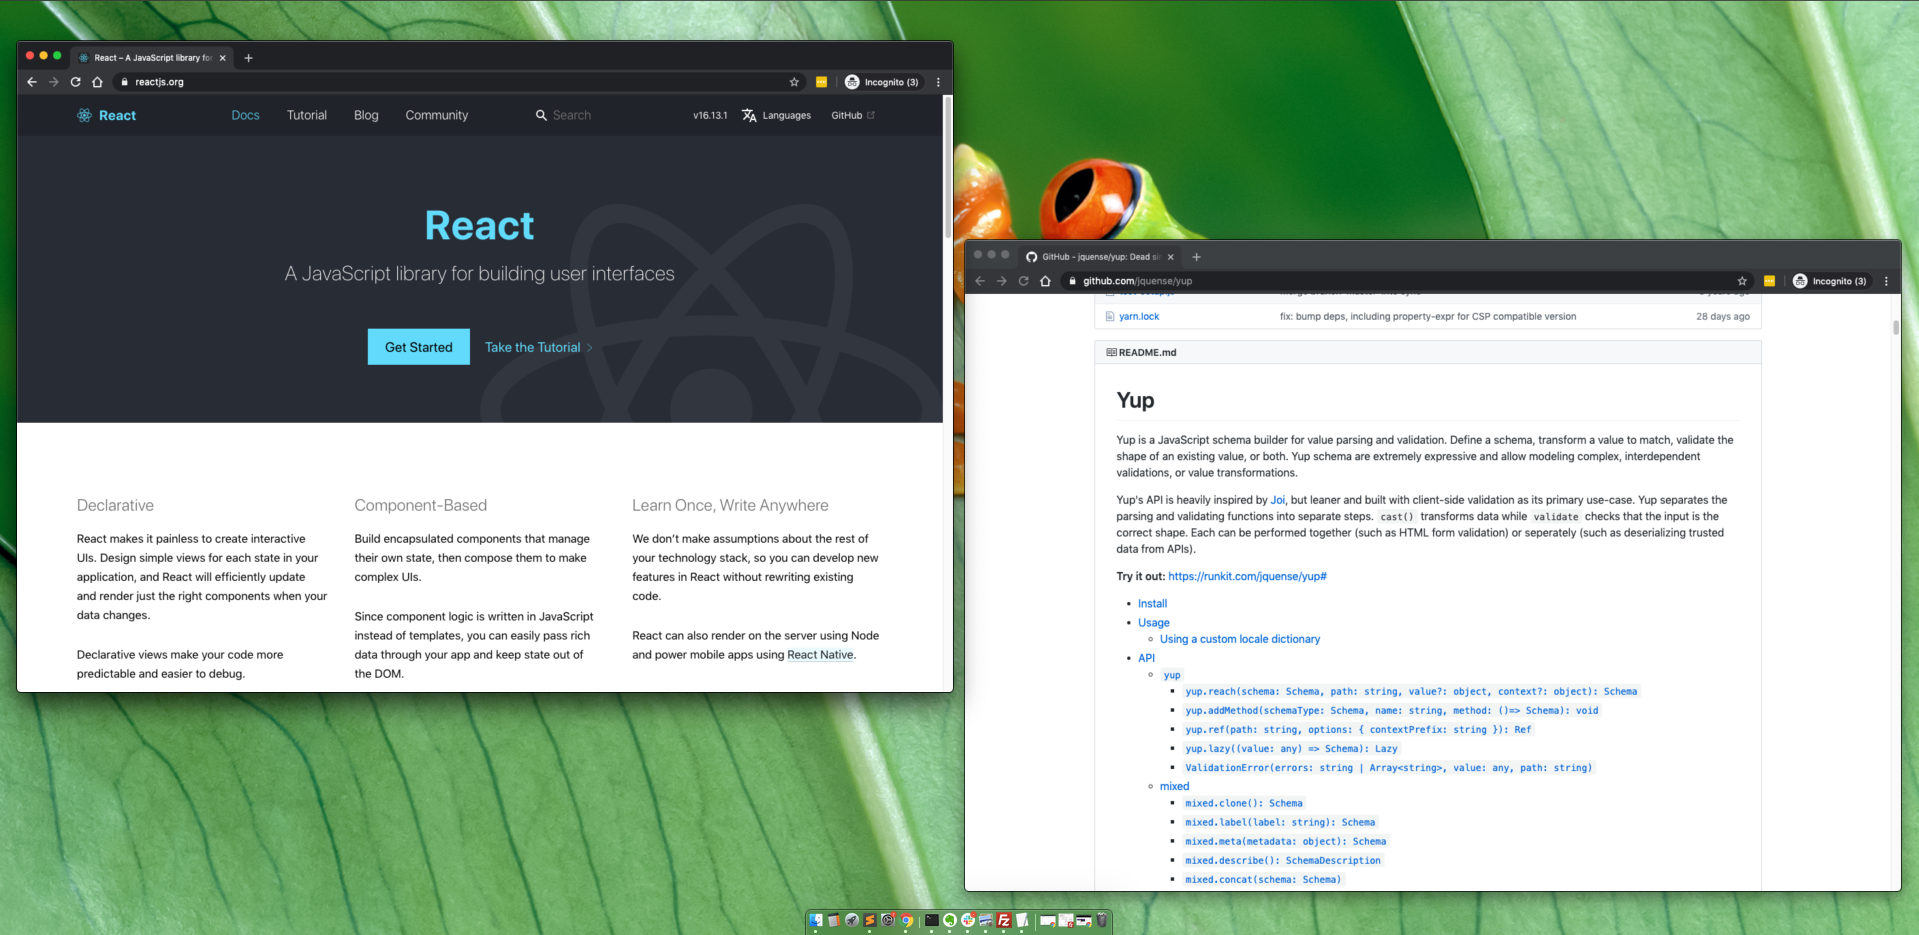
Typically, I avoid using JS app frameworks, and default to plain vanilla JavaScript. But, in keeping up with what is current – and working on projects as part of a team – React is inevitable: “A JavaScript library for building user interfaces” . Yup is the go-to form validation library in this context. Its GitHub page calls it “Dead simple Object schema validation”.

Yup creates validation schemas for inputs. Create a Yup validation object, and wire it up to a form – easy.

The ask

Setting: An existing React project, with a signup form. The form includes address inputs. The “country” input was not a required field – it could be left blank. My assignment was to make that field be required, only if the “state/territory” input was not empty. Sounds straight forward.

Here is a sample of the original code:

export const apValidateMyAddress = () => {
  name: yup.string().required("Don't leave this blank!!"),
  email: yup.string().email(),
  address: yup:string(),
  city: yup.string(),
  state: yup.string(),
  country: yup.string()
}

At first, I wasn’t sure if I should update this schema code directly. I thought about checking if the state field was blank, or not, and applying a different schema object instead. That would have been the wrong approach.

Doing some research, I discovered that the Yup’s when() method was the solution. It would let me “adjust the schema based on a sibling or sibling children fields”.

My first attempt was wrong, and didn’t work::

export const apValidateMyAddress = () => {
  name: yup.string().required("Don't leave this blank!!"),
  email: yup.string().email(),
  address: yup:string(),
  city: yup.string(),
  state: yup.string(),
  country: yup.string().when('state',{
    is: true,
    then: yup.string().required('This is a required field.')
  })
}

Errors were thrown. Documentation examples were hard to come by, and I was new at this. I wanted the condition to be true if “state” was not blank. Setting the “is” clause as “true” would only work if state was validated as a boolean – state: yup.boolean() . Ultimately, I was able to check that the “state” value existed using the value property:

export const apValidateMyAddress = () => {
  name: yup.string().required("Don't leave this blank!!"),
  email: yup.string().email(),
  address: yup:string(),
  city: yup.string(),
  state: yup.string(),
  country: yup.string().when('state',{
    is: (value: any) => !!value,
    then: yup.string().required('This is a required field.')
  })
}

More Conditional Logic

In another example of validating a field based on the value of another, I leveraged the context attribute. This allows you to pass additional data to the validation schema.

const validOrderQuanitity = await orderQuantitySchema.validate(orderQuantity, {context: previousOrderQuantity, customerType})

Here, for my order quantity to be valid, it needs to be greater than (or equal to) the previous order quantity, but only when the customer type is “existing”. Although the order quantity is what is being validated, I need the context of the previous order quantity and the customer type.

In my validation schema, I use a when condition to check the customer type and to reference the passed argument:

export const myValidationSchema = Yup.number().when('$customerType',{ is: 'existing', then: Yup.number().min(Yup.ref('$previousOrderQuantity'), "Invalid!")})

Remove subdirectories from a URL string

javascript

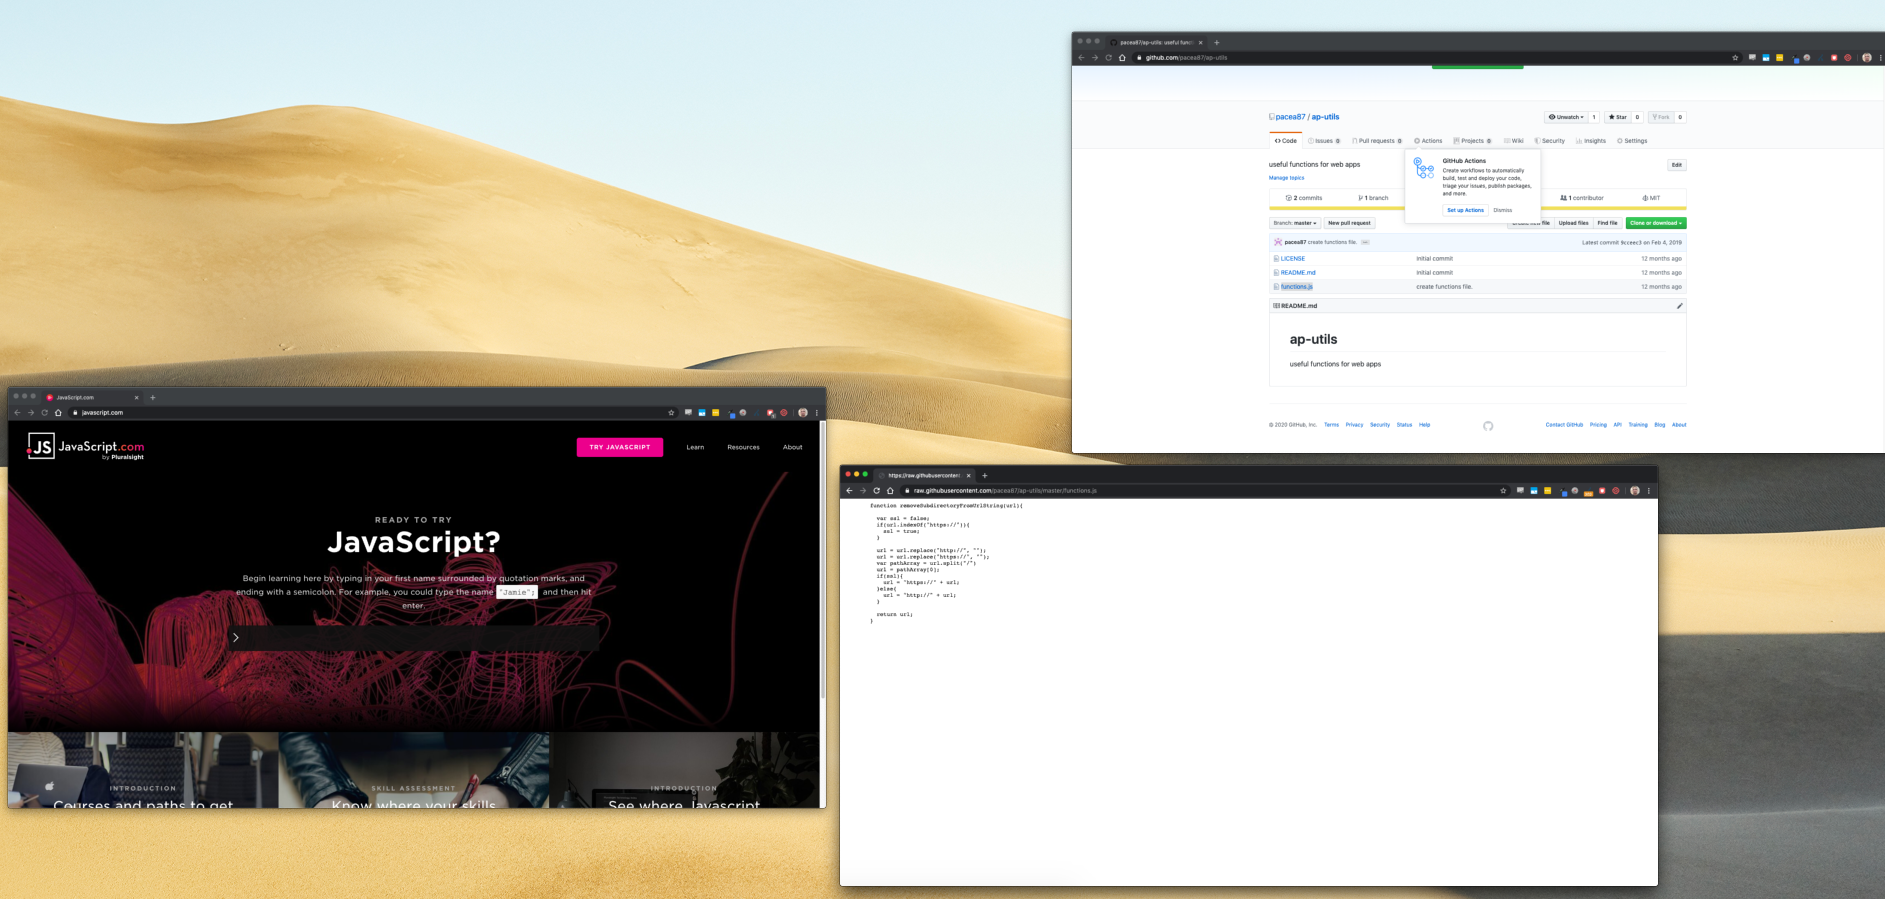
I use GitHub to manage code that I’ll want to re-use. I had trouble finding a canned function to remove the subdirectory path from a URL string – so I wrote one and added it to my latest public repository: https://github.com/pacea87/ap-utils

I’ll keep adding useful code to it – and feel free to make a pull request and contribute yourself. This code should focus on utility functions for manipulating data in interesting ways. Below is the JavaScript code for removing the subdirectories from a URL string. This will also strip away any query string parameters.

function removeSubdirectoryFromUrlString(url){
  
  var ssl = false;
  if(url.indexOf("https://")){
    ssl = true;
  }

  url = url.replace("http://", "");
  url = url.replace("https://", "");
  var pathArray = url.split("/")
  url = pathArray[0];
  if(ssl){
    url = "https://" + url;
  }else{
    url = "http://" + url;
  }

  return url;
}

Now, you can get the current page’s URL, and strip off everything after the host name:

var url = window.location.href;
var baseUrl = removeSubdirectoryFromUrlString(url);
console.log(baseUrl);

Another example:

var url = "https://www.antpace.com/blog/index.php/2018/12/";
var baseUrl = removeSubdirectoryFromUrlString(url);

//This will return "https://www.antpace.com"
console.log(baseUrl); 

I used this code to re-write all URL references in an iFrame to be absolute. My implementation loops through all image, anchor, and script tags on the source site. It determines if each uses an absolute reference, and if not re-writes it as one. This was part of a project that uses a visual editor to allow users to manipulate a remote site. Check out my source code below.

pageIframe.contents().find("img").each(function(){
  var src = $(this).attr("src");
  if(src && src.length > 0 && src.indexOf("//") == -1){  //if not absolute reference
    var url = iframeUrlString;
    if(src.charAt(0) == "/"){ //only do this if the src does not start with a slash
      url = removeSubdirectoryFromUrlString(url); 
    }
    src = url+"/"+src
  }
  $(this).attr("src", src);
});

pageIframe.contents().find("script").each(function(){
  var src = $(this).attr("src");
  if(src && src.length > 0 && src.indexOf("//") == -1){
    var url = iframeUrlString;
    if(src.charAt(0) == "/"){
      url = removeSubdirectoryFromUrlString(url); 
    }
    src = url+"/"+src
  }
  $(this).attr("src", src);
});

pageIframe.contents().find("link").each(function(){
  var src = $(this).attr("href");
  if(src && src.length > 0 && src.indexOf("//") == -1){
    var url = iframeUrlString;
    if(src.charAt(0) == "/"){
      url = removeSubdirectoryFromUrlString(url); 
    }
    src = url+"/"+src
  }
  $(this).attr("href", src);
});

If you liked this, check out my other post about my reusable code framework for web apps, A framework for web apps and startups.

A template for web app startups

code templates

Having a framework in place when you start up will let you hit the ground running. This applies not just to software, but also business, health, fitness, and just about everything else in life. Having the dots ready to connect helps you to draw the right picture.

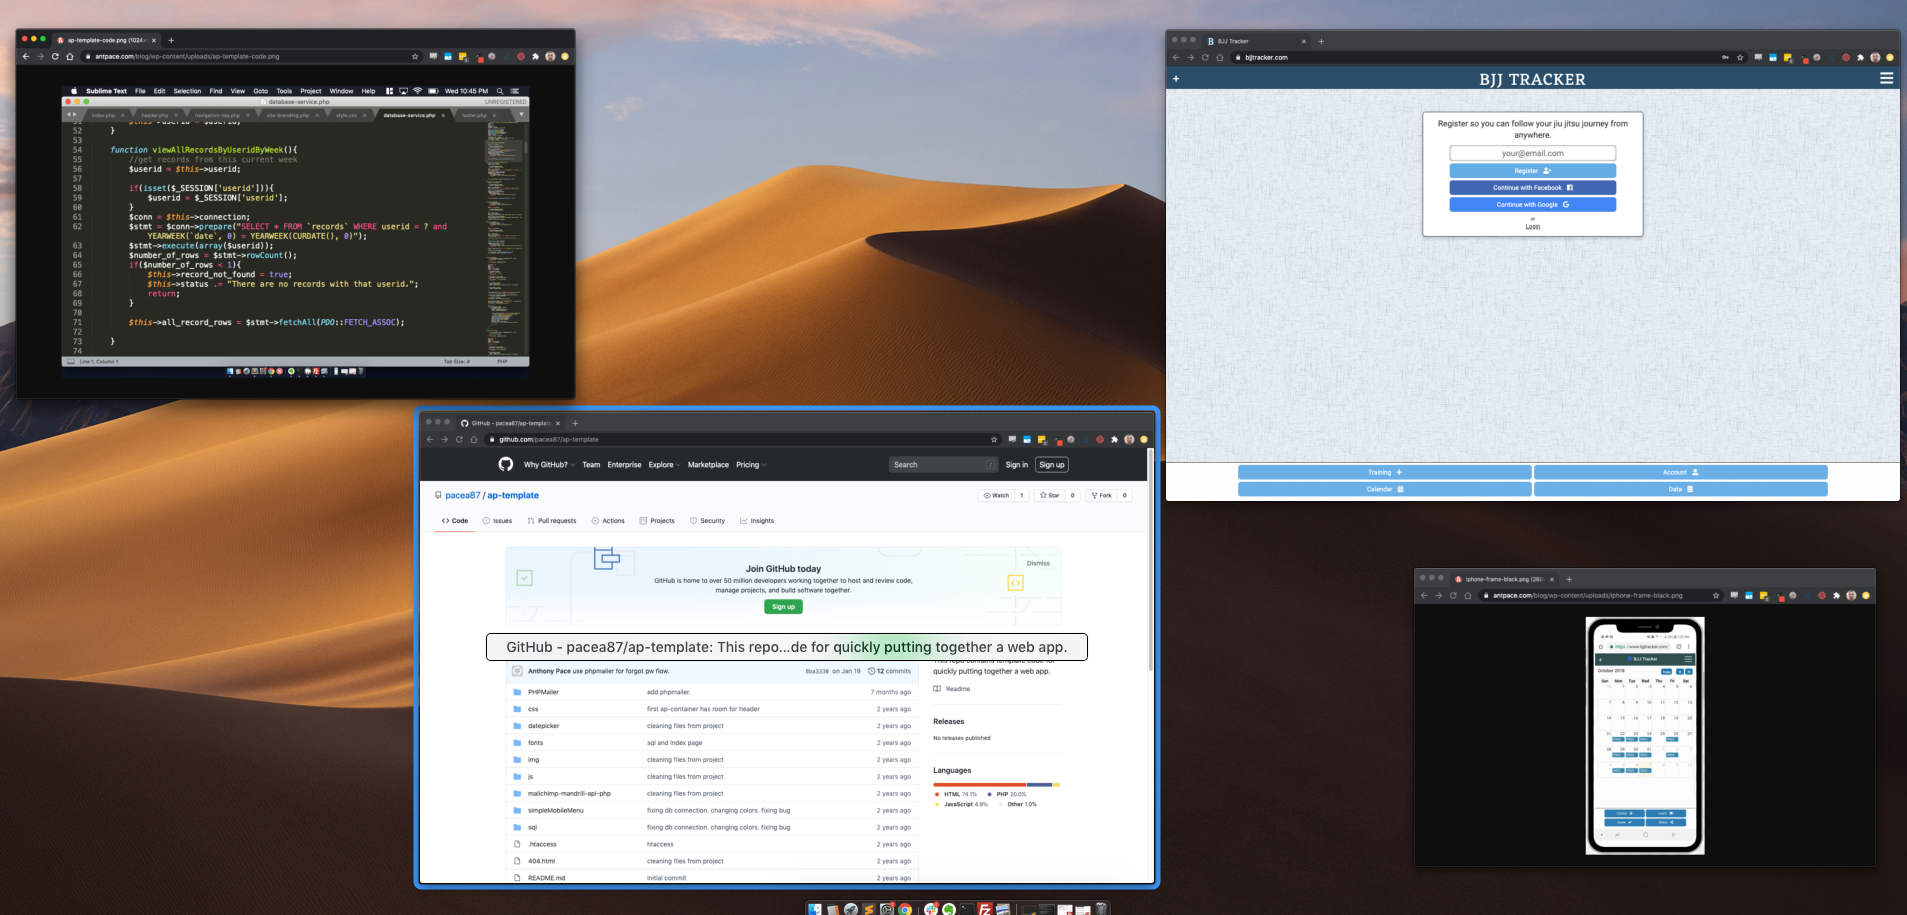
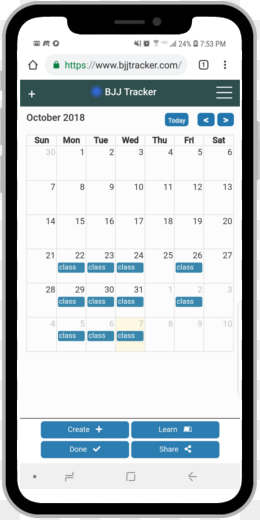
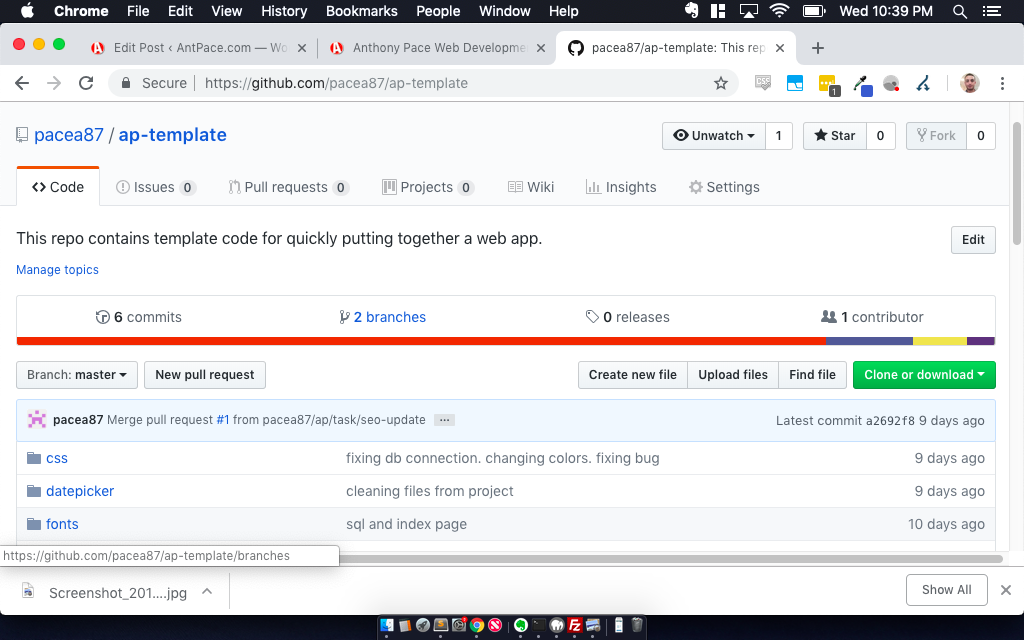
I recently released BJJ Tracker as a web app. You can read about it here. I built it knowing that I would want to reuse its code, and have it serve as a framework for future projects. I cleaned it up into a GitHub repository, trying to make it as generic as I could. Here is the link: https://github.com/pacea87/ap-template.

BJJ Tracker

I wanted to create a template to rapidly roll out digital products and software. This source code is a starting point. The goal is to be quick and cheap, without sacrificing quality. It runs in a LAMP environment. If you want to run this software on your computer, look into WAMP or MAMP.

This code base provides a front-end that leverages modern web technologies and standard best practices. A basic layout is described, including a header, menu drawer, feature buttons, and detail pages. It uses Bootstrap, jQuery, Font Awesome, Google Fonts, and Google Charts.

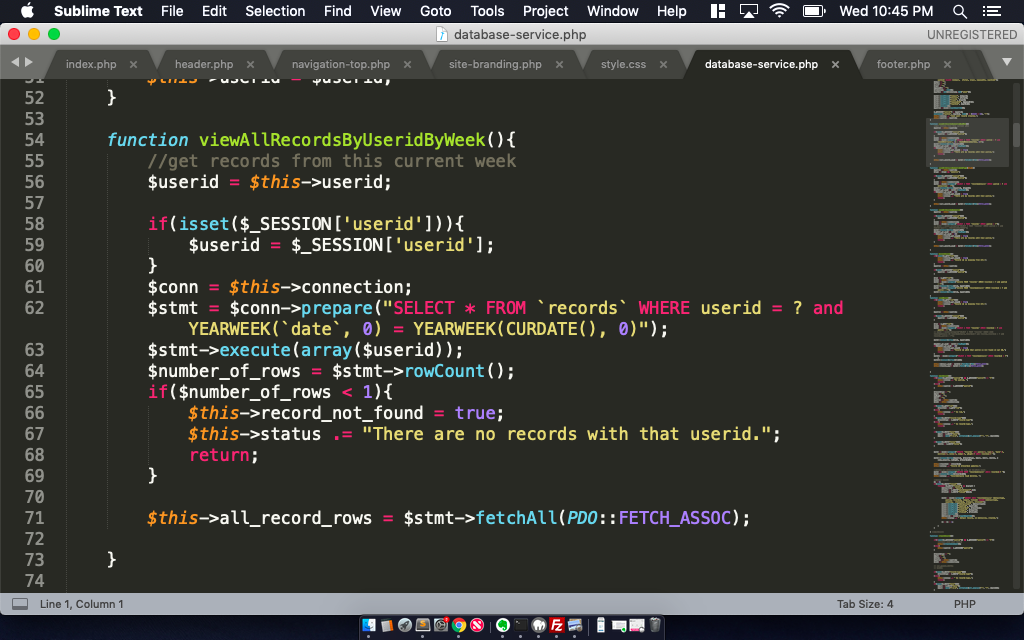
The back-end is object oriented, RESTful, and secure. Code that talks to the database, or to 3rd party APIs, has been separated out into *-service.php files. It includes SQL to create a user database. The database interacts with a custom registration and login engine. It allows for anonymous users, so that data can be saved before signing up, and a password is not needed to get started. It provides a reset password mechanism for users. It seamlessly integrates with Mailchimp and Facebook login. Redirects are in place to force SSL and WWW, and to remove file extensions from URLs. Next versions will address technical SEO and new API integrations.

source code

If you’d like to contribute to this repo, feel free to fork it, and make a pull request.

GitHub