Freelance Web Development: Delivering Value to Clients

freelance web dev process

When I win a new web development client I follow a structured progress. This ensures high quality results. Years of refinement and experience continue to define how I work with people and businesses to help them succeed.

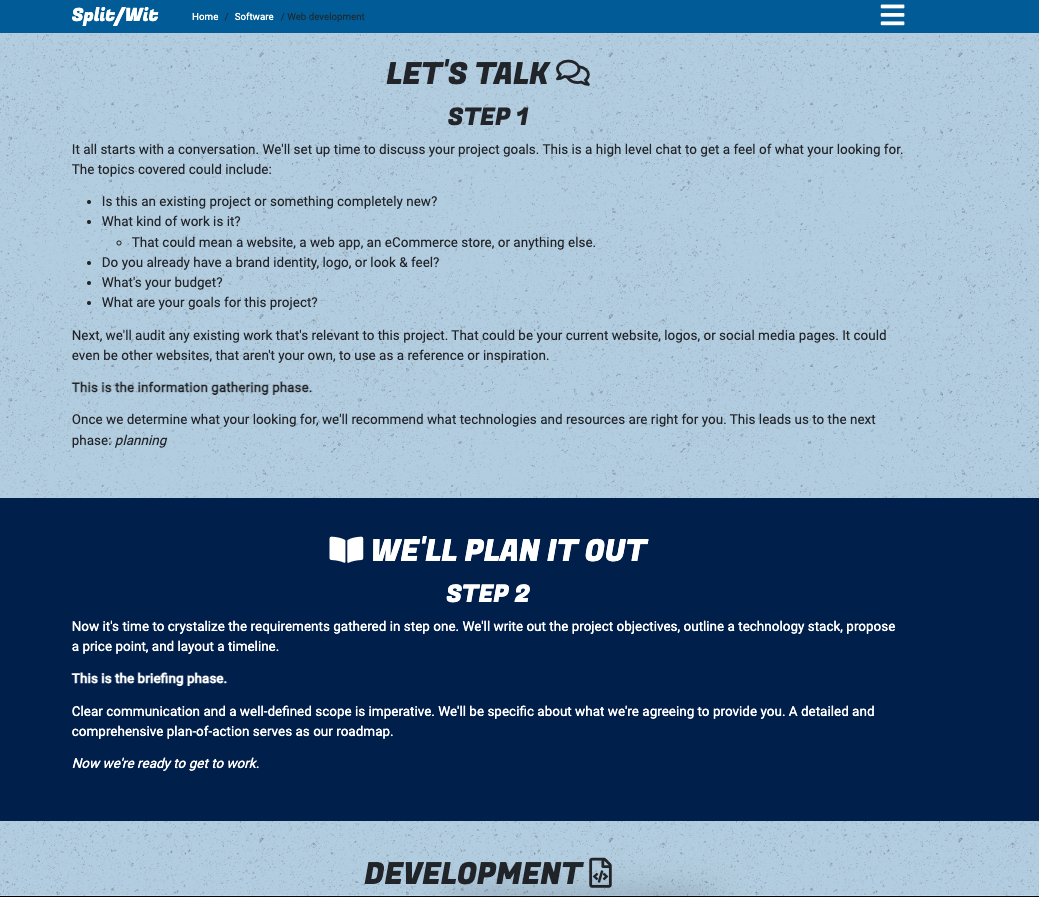
Discussion

This is the first step. Communication is key.

This initial discussion allows us to explore your project’s overarching goals. It’s a high-level chat to understand your aspirations and ensure our visions align. We’ll delve into:

  • Nature of the Project: Is this a revamp of an existing platform or the birth of something entirely new?
  • Scope of Work: What exactly are we building? It could range from a website, a dynamic web application, an eCommerce storefront, to other web-based projects.
  • Branding Elements: Have you established a brand identity already? Do you possess logo designs or specific themes you want incorporated?
  • Budget Considerations: A transparent conversation about the budget ensures we shape the project according to the resources available.
  • Project Goals: What do you hope to achieve with this project? Understanding your objectives ensures we’re steering in the right direction from the get-go.

After our conversation, we’ll examine any pre-existing materials that are pertinent. Perhaps you have an existing website that needs sprucing up or logos that you’d love incorporated. Alternatively, you might point to other inspiring sites or platforms, even if they’re not yours, to give a clearer picture of your vision. This step is all about gathering resources and setting a concrete foundation.

Based on our dialogue and the data collated, I’ll recommend the best technologies and tools. This could encompass anything from choosing the right content management system, database technologies, or frontend frameworks.

Planning

Step two. Every element discussed in our initial conversation is now put down in black and white. It’s our chance to reiterate the goals and ensure we’re on the same page. This documentation becomes a reference point, ensuring we stay aligned with the project’s vision.

We detail objectives, decide on the most fitting technology stack, outline the budget, and establish a clear timeline.

Development

As we progress through this building phase, you’ll have access to a private server for reviews and approvals. Everything—from the user-friendly experience to backend configurations like domain setup, security measures, and CMS installation—is shaped by our prior discussions, ensuring both aesthetics and functionality are on point.

Content

During the website’s initial build, I typically use placeholder content. With the design and layout set, it’s your cue to provide the actual content. While you can opt to share materials earlier, this phase is ideal. And rest assured, you’ll retain full control to modify content as needed later on.

Quality Review

Before launching, I rigorously test the product across various devices, browsers, and screen dimensions to ensure quality. This phase is dedicated to refining the detail, ensuring both appearance and functionality are flawless.

Final Touches

I ensure that your website is fully optimized for SEO, integrating structured data, sitemaps, and relevant keywords. By enhancing its security, mobile responsiveness, and speed, your SEO score will naturally improve. Further bolstering this, I can register your site with Google Search Console and activate AMP (Accelerated Mobile Pages) to amplify its prominence in Google searches. Additionally, I’m here to guide you in devising a content strategy tailored to elevate your online visibility.

For those seeking email hosting, I offer solutions tailored to your needs, with Google Workspace being a top recommendation for those starting afresh. When it comes to choosing a CMS, WordPress or Shopify are often top picks for businesses.

Beyond these services, I specialize in web design, crafting a visual identity that seamlessly embodies your brand. And rest assured, user experience is a top priority; I design ensuring visitors experience positive, smooth interactions across your digital platform.

This framework is described and outlined on another page of this website. It is what I use when I engage a client that has an existing website that might need maintenance or improvements.
Identify Unused Image Files in a Code Project

Searching for image files

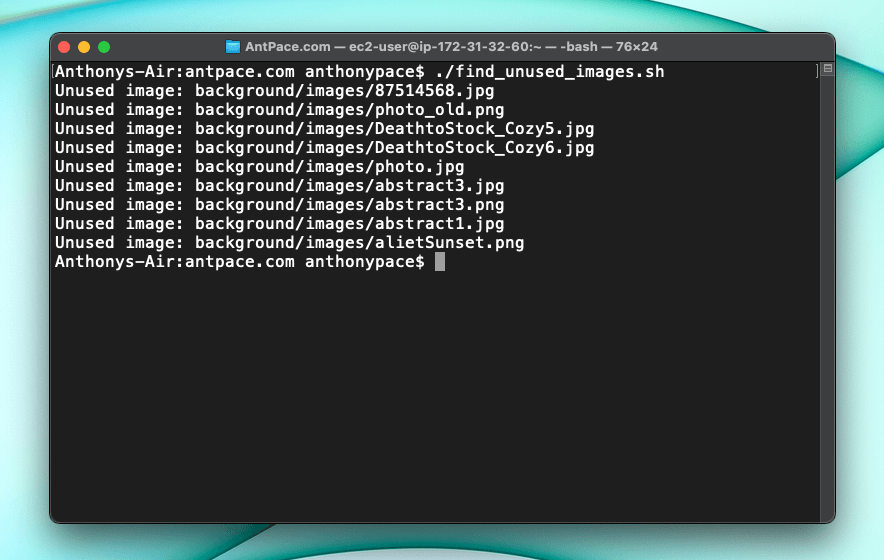
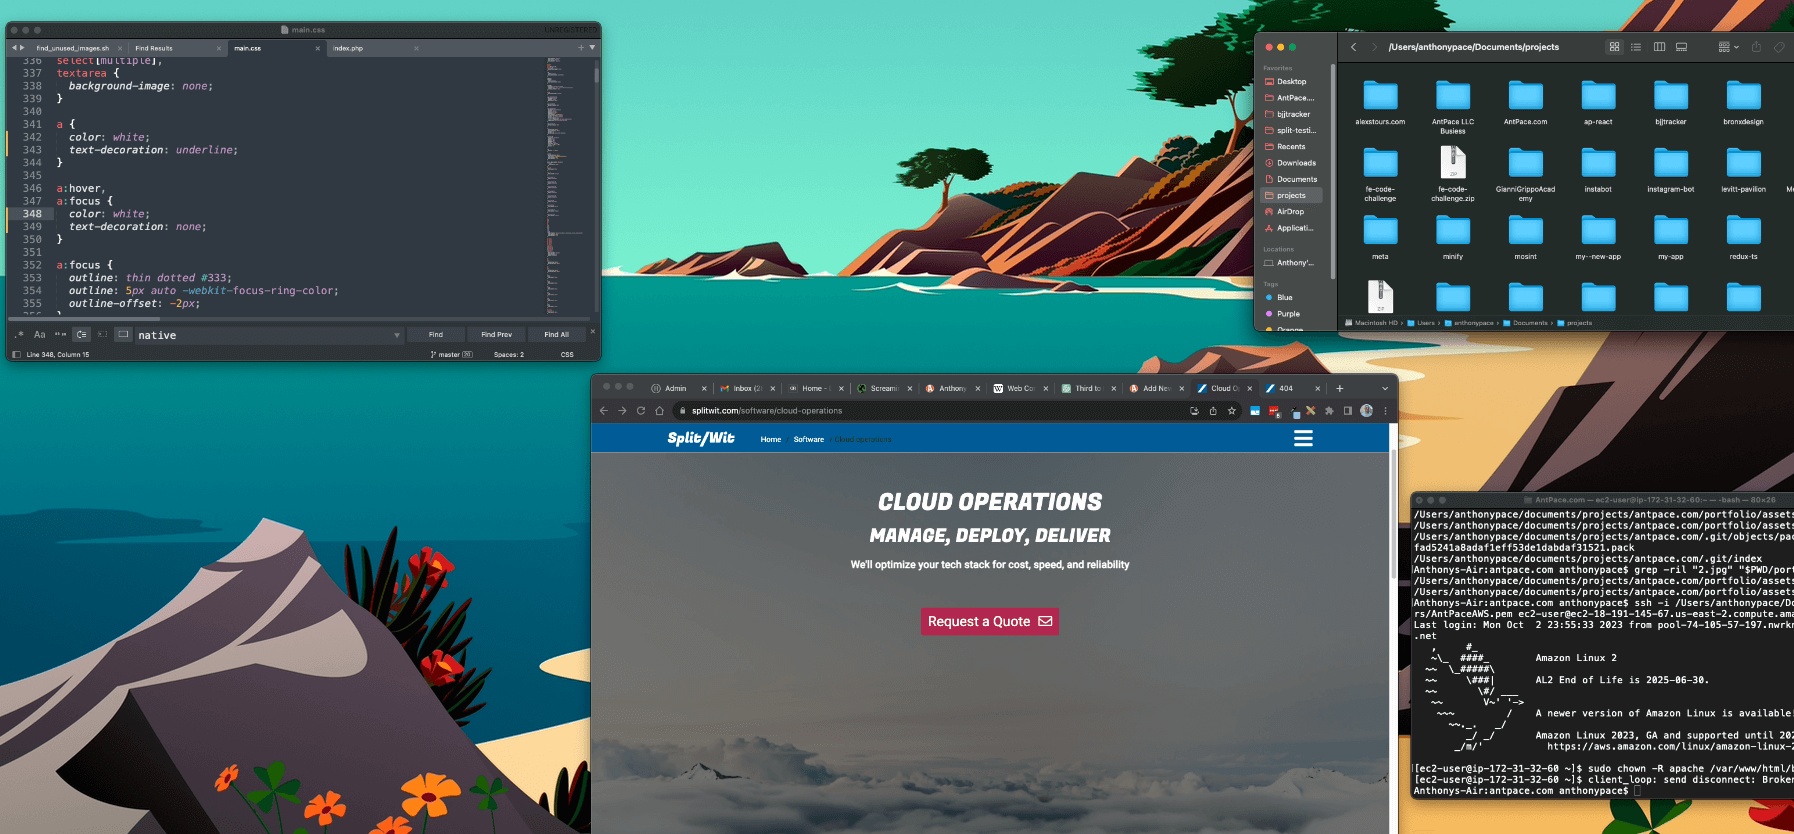
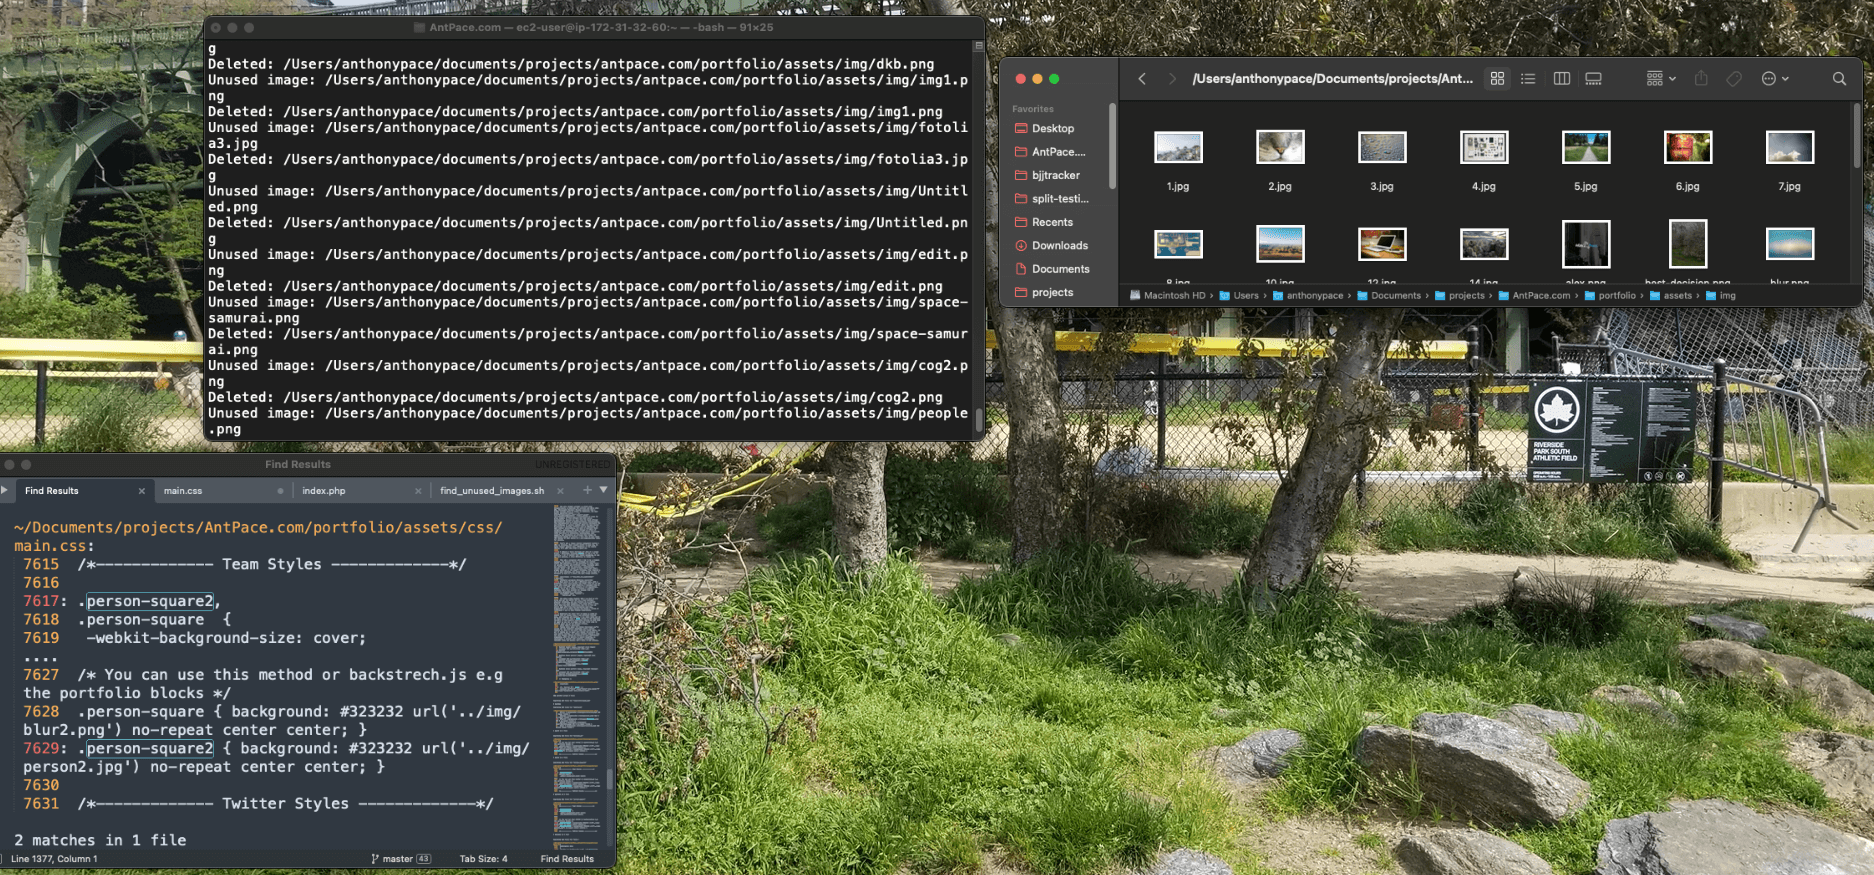
I wrote a script to list (and optionally delete) the image files it finds in a directory that are not referenced any where.  I specified a single sub-directory at a time. If you do the entire project it may take long to complete.

#!/bin/bash

PROJECT_DIR="$PWD"
IMAGE_DIR="$PWD"

DELETE_FLAG=false

# Check for -d (delete) flag
if [[ $1 == "-d" ]]; then
    DELETE_FLAG=true
fi

# Find all image files
find $IMAGE_DIR -type f \( -iname \*.png -o -iname \*.jpg -o -iname \*.jpeg -o -iname \*.gif -o -iname \*.webp -o -iname \*.svg -o -iname \*.ico \) | while read img_file; do
    # Extract the basename of the image file
    img_basename=$(basename "$img_file")
    
    # Search for it in the project, excluding .zip files and .git directories
    result=$(grep -ril --exclude=*.zip --exclude-dir=.git "$img_basename" "$PROJECT_DIR")
    
    # If not found, print it or delete it based on flag
    if [ -z "$result" ]; then
        echo "Unused image: $img_file"
        if $DELETE_FLAG; then
            rm "$img_file"
            echo "Deleted: $img_file"
        fi
    fi
done

Be sure to edit the code to include the image file types that you want to target. Make the file executable before trying to use it:

chmod +x find_unused_images.sh

Run the script (without deletion)

./find_unused_images.sh

To run the script with the delete functionality:

./find_unused_images.sh -d

Find unused images in a project

In an early version, my script was leaving behind files that appeared to be completely unreferenced in the code base (I checked manually by searching the project via IDE). To troubleshoot, I ran grep from the command line:

grep -ril "experienceLogo2.png" "$PWD"

It turned out that those files were referenced in a zip file and in git objects (and therefore considered not unused). I fixed this bug by adding the flags –exclude=*.zip –exclude-dir=.git to my grep command in find_unused_images.sh.

grep to find a file reference within a directory
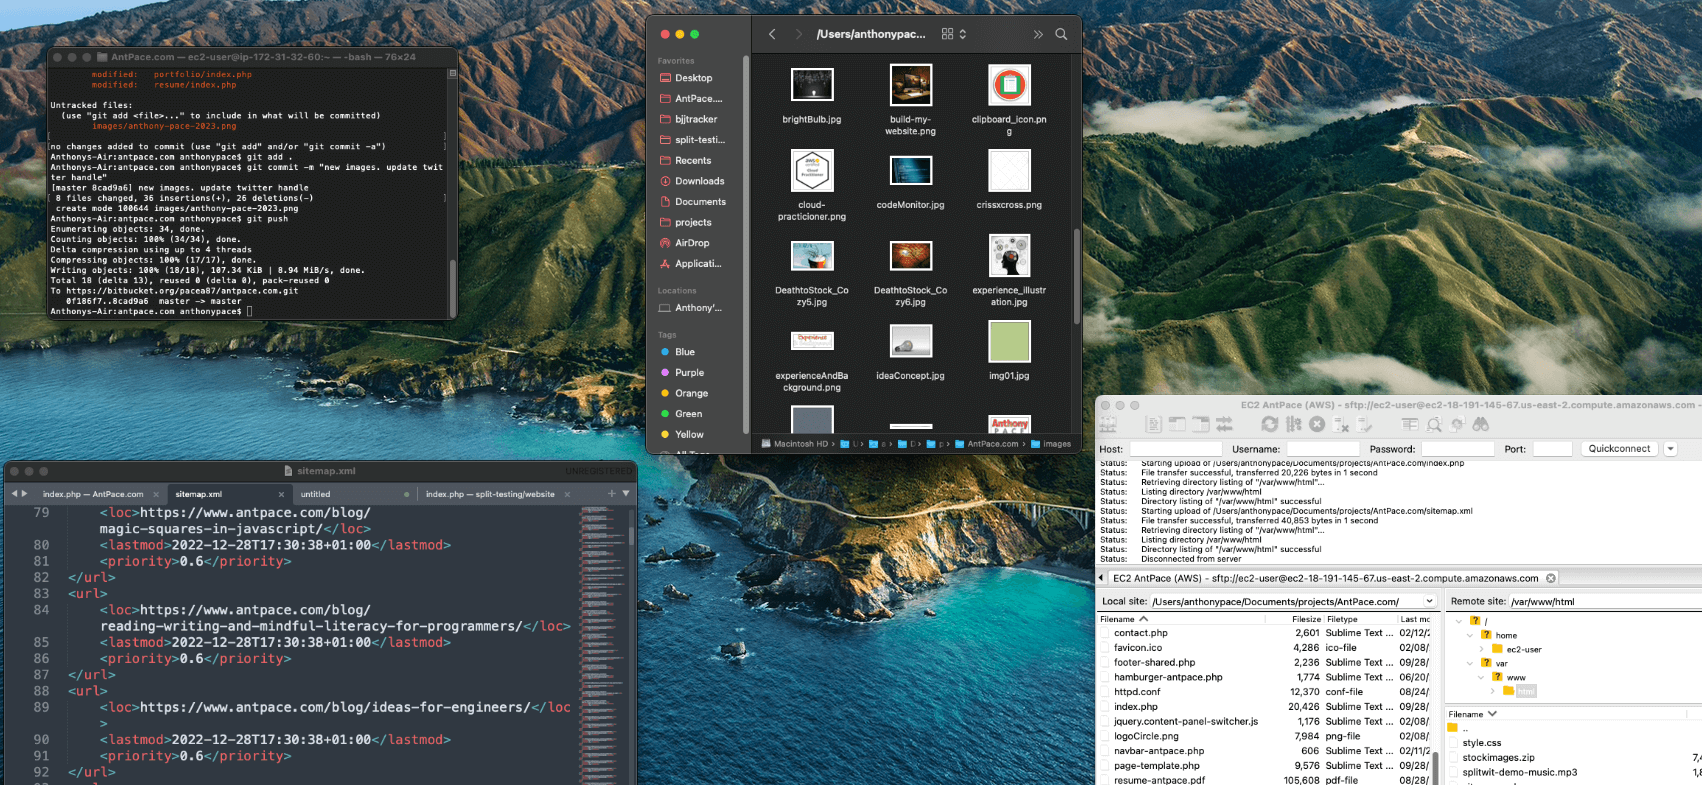
I had lots of unused stock images and old designs that felt good to purge. Now with generative image AI, I know I could create assets easily as I need them in the future.

I used this script during a project to upgrade my website to use next generation file formats. If you liked this post, read another one where I discuss managing graphic assets for a web project.

Update

Identify any unused files in a code project

This code can be changed to search for any kind of file. Here’s an updated version I used to see if some old Bootstrap files were being used any where:

#!/bin/bash

PROJECT_DIR="$PWD"
FILE_DIR="$PWD/css"

DELETE_FLAG=false

# Check for -d (delete) flag
if [[ $1 == "-d" ]]; then
    DELETE_FLAG=true
fi

# Find all image files
# find $FILE_DIR -type f \( -iname \*.png -o -iname \*.jpg -o -iname \*.jpeg -o -iname \*.gif -o -iname \*.webp -o -iname \*.svg -o -iname \*.ico \) | while read my_file; do
find $FILE_DIR -type f \( -iname \*.css -o -iname \*.js \) | while read my_file; do
    # Extract the basename of the image file
    file_basename=$(basename "$my_file")
    
    # Search for it in the project, excluding .zip files and .git directories and .xml directories
    result=$(grep -ril --exclude=*.zip --exclude-dir=.git --exclude=*.xml "$file_basename" "$PROJECT_DIR")
    
    # If not found, print it or delete it based on flag
    if [ -z "$result" ]; then
        echo "Unused file: $my_file"
        if $DELETE_FLAG; then
            rm "$my_file"
            echo "Deleted: $my_file"
        fi
    fi
done

This didn’t work perfectly. I had to add an exclusion condition for .xml files because my WordPress blog archive files were being highlighted in the search. (EOD, I ended up zipping the few .xml archive files anyway. I also keep them on an S3 bucket, but I enjoy redundancy.)

The file name “bootstrap.css” was being found in its own file.

Bootstrap source code

This, at least, gave me enough confidence to just delete the files manually. I can’t call this a perfect tool (and I don’t think it would scale well), but it is a utility for a practical use-case.

I saw other examples of it acting funny. For instance, I had an old stock photo file named ‘5.jpg’. It was coming up as being used in the project because, for some reason, that string was found in another image file – ‘jimmy.webp’.

using grep to search image file names

Ensure Your Website’s Success: Maintenance, Audit, and Enhancement Plans

Existing website work

This post is all about how I help clients with their existing websites. If you are a fellow web developer reading this, use it for ideas on how to serve more people. My mission is to help businesses achieve more through their web presence.

If your curious about how I can help you with your website, send me a message. Below are some ways I will serve you.

Content updates & maintenance

I try to be a company’s go-to guy that can be called whenever anything comes up with their website.

If someone has a website, even if it is a static brochure site, it will eventually need help. It could be small content updates to reflect inevitable changes to the business. Or, one day something goes wrong. The website suddenly doesn’t work at all. Maybe someone notices something broken, be it major or minor. I want them to think of me and know that I can help.

There’s some businesses that regularly make content updates themselves using a CMS (like WordPress, Wix, Shopify, etc.). They could need occasional help with customizations, CMS or plugin update issues, and more. I let clients know that when issues arise, I’m just a text message away.

Audit & enhancement

A client usually requests this service in the form of a complaint: “My website is too slow”, “I’m not getting enough sales/conversions/leads from my website”. My response is to do a formal audit and analysis. The result includes recommendations for improvement and an estimate (time/price) for implementation.

Other times, clients do not even know that there is a potential risk (security issues) or unrealized upside (UX issues) that needs attention. Providing those insights with empathy and transparency helps businesses see that value. Below is a list of audit types I offer:

  • Security: Is your website secure? Does it use https? Is WordPress up-to-date? Is your site vulnerable to being taken over by hackers?
  • Accessibility: Is your website usable for people with disabilities? Many businesses don’t realize that this is a legal requirement under the ADA.
  • SEO: Technical SEO, optimization, and more
  • Design UI/UX: Does your website look like it’s stuck in the past? How does it perform on different mobile devices? Is there brand consistency? Is the user experience the best that it can be? Maybe it is slow and bloated from plugins/integrations and needs a refresh.

Once we figure out what needs attention, I can create a plan and strategy to enhance your website. We can take it one step and a time, and focus on what will have the greatest impact for you and your business. You can read more about my process for web development with freelance clients in another post.

steps to handling a web development client

Preemptive audits to win new clients

I approach clients (existing or perspective) with a value proposition from a place of wanting to give. This is especially true for small businesses that appear to be leaving honey 🍯  on the table.

My process for engaging a new client, especially cold ones, is to review their website and make note of any obvious improvements. One example is using a generic email address (ExampleBusiness@gmail.com) instead of their own domain. Others include broken 404 links and bad mobile UX.

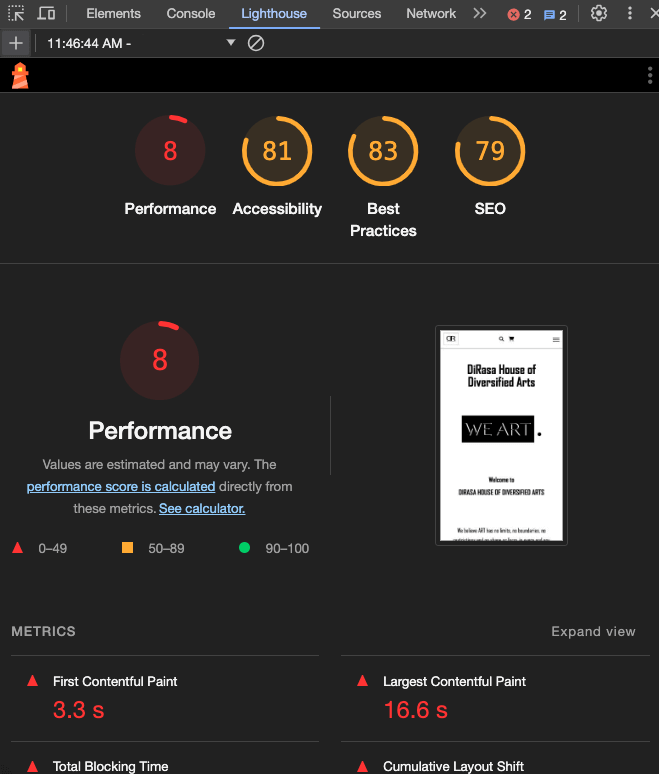
Google Chrome’s built in Lighthouse feature helps me to highlight low performance in existing websites of potential clients.

low performing lighthouse scores for a small business

Screaming Frog SEO Spider is another utility that I use to identify (and pitch) improvements to new client web projects.


Training & education

Sometimes, managers and stakeholders want to know how things work or how to make some changes themselves. That’s why I offer technical training, education, and tutoring.

Your business might have a designer or marketer that is ready to add some tech skills to the mix. I can help with that too. Contact me about the personalized tech training that I offer.

Disaster recovery & best practices

When a tech disaster happens you need to have a plan for recovery. Do you have backups? What is the RPO and RTO for your organization when “the business is on fire”? Work with me to be prepared in these situations. I apply proven strategies and make sure your digital presence is resilient.

A moment of preparation is worth a week of remediation. Sailing ahead of the storm is possible by following best practices  How does your organization manage passwords and credentials? What apps do your employees use? Knowing the right questions is the only way to build valuable answers.

CSS for Weighted Hyperlink Decoration

CSS for weighted hyperlink decoration

How to add an underline to website text should be covered in any intro to web development course. The old-fashioned HTML way uses a now-deprecated tag:

<u>This will appear underlined!</u>

Modern approaches use CSS to define such a style:

<p style="text-decoration: underline;">This will appear underlined!</p>

Even better, properly written code will separate the inline styles, like so:

<style>
.underlined-text{
  text-decoration: underline;
}
</style>
<p class="underlined-text">This will appear underlined!</p>

For hyperlink text, I might want to hide the underline when a user mouses over it. That’s easy with the “hover” pseudo-class:

<style>
a.hyperlink-text{
  text-decoration: underline;
}
a.hyperlink-text:hover{
  text-decoration: none;
}
</style>
<a class="hyperlink-text">This will appear underlined!</a>

But, suppose I want to have that underline to become thicker instead of disappearing. That will require an advanced, super-secret CSS technique. To make it work, we will utilize box-shadow.

In the world of cascading style sheets, the box-shadow property adds a shadow effect around any HTML element. The shadow is described by its offsets, relative to the element. Leveraging this, we can create a shadow that looks like an underline. On hover, we can adjust the settings to change its appearance:

<style>
a.hyperlink-text{
  text-decoration: none;
  box-shadow: inset 0 -1px 0 rgb(15 15 15);
}
a.hyperlink-text:hover{
  -webkit-box-shadow: inset 0 0 0 rgb(0 0 0 / 0%), 0 3px 0 rgb(0 0 0);
  box-shadow: inset 0 0 0 rgb(0 0 0 / 0%), 0 3px 0 rgb(0 0 0);
}
</style>
<a class="hyperlink-text">This will appear underlined!</a>

Point your cursor over any of the hyperlinks in this post to see what it looks like. Experiment with the above code to make it your own.

Radio Button Value Checked from a Database in PHP

Form input with PHP

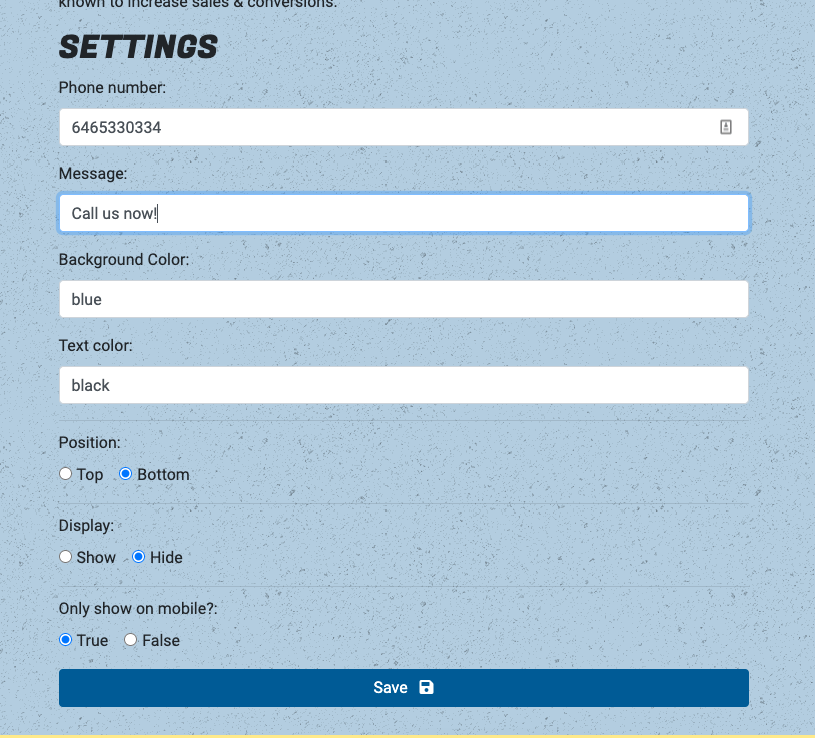
When building software user interfaces, I create HTML forms to manage any app settings. I’ll usually have a few text and radio inputs like this:

settings input form

Using PHP, I grab a database record and access its properties to populate the form. Filling out the text inputs is straight-forward:

<?php $clickToCallRecord = $db_service->getClickToCallRecord($installation_complete_id); ?>

<div class="form-group">
    <label>Phone number:</label>
    <input class="form-control" type="tel" name="phone_number" value="<?php echo $clickToCallRecord['phone_number']; ?>" placeholder="(123)-456-7890">
</div>
<div class="form-group">
    <label>Message:</label>
    <input class="form-control" type="text" name="message_text" value="<?php echo $clickToCallRecord['message_text']; ?>" placeholder="Call Us Now">
</div>
<div class="form-group">
    <label>Background Color:</label>
    <input class="form-control" type="text" value="<?php echo $clickToCallRecord['bg_color']; ?>" name="bg_color">
</div>

Checking the correct radio input requires our code to evaluate the data value. I add a PHP variable to each of the inputs as attributes. Those variables will render to either “checked” or blank:

<?php
    $top_checked = "";
    $bottom_checked = "";
    $position = $clickToCallRecord['position'];
    if($position == "top"){
        $top_checked = "checked";
        $bottom_checked = "";
    }else{
        $top_checked = "";
        $bottom_checked = "checked";
    }

    $show_checked = "";
    $hide_checked = "";
    $display = $clickToCallRecord['display'];
    if($display == "show"){
        $show_checked = "checked";
        $hide_checked = "";
    }else{
        $show_checked = "";
        $hide_checked = "checked";
    }

?>

<div class="form-group">
    <label>Position:</label>
    <div>
        <div class="form-check form-check-inline">
          <input <?php echo $top_checked; ?> class="form-check-input" type="radio" name="position" value="top">
          <label class="form-check-label" for="matchtype">Top</label>
        </div>
        <div class="form-check form-check-inline">
          <input <?php echo $bottom_checked; ?> class="form-check-input" type="radio" name="position"  value="bottom">
          <label class="form-check-label" for="matchtype">Bottom</label>
        </div>
    </div>
</div>
<hr />
<div class="form-group">
    <label>Display:</label>
    <div>
        <div class="form-check form-check-inline">
          <input <?php echo $show_checked; ?> class="form-check-input" type="radio" name="display" value="show">
          <label class="form-check-label" for="matchtype">Show</label>
        </div>
        <div class="form-check form-check-inline">
          <input <?php echo $hide_checked; ?> class="form-check-input" type="radio" name="display"  value="hide">
          <label class="form-check-label" for="matchtype">Hide</label>
        </div>
    </div>
</div>

This example comes from a Shopify app that helps stores increase conversions by adding a UI element prompting customers to call a phone number.

Develop Apps and Explore the World Wide Web

BJJ Tracker

World Wide Web

The web, as a platform, is open and free. Unlike native app markets, we don’t have to wait for software to be approved by any third-party. It works across any device or operating system that has a web browser. (Which is why standards across browsers is so important). But, until recently web-apps faced limitations. Not having full access to a device’s hardware and operating system was an issue – but that’s being fixed as more native APIs are being added to modern web browsers.

A disadvantage of having a web-only app was losing out on the discoverability that comes with having it listed in a searchable marketplace. Adding a web-app to your device home screen, from a web browser, is not intuitive to average users. Fortunately, the Google Play Market allows us to upload an app file that links to a progressive web app.

This involves a new protocol, Trusted Web Activities, as “a way to integrate your web-app content such as your PWA with your Android app“. The PWA leverages Digital Asset Links to “declare that it is associated with a specific Android app.

Progressive web apps

I decided to try this out with one of my web-apps, BJJ Tracker. You can read about how I first built it on another blog post.

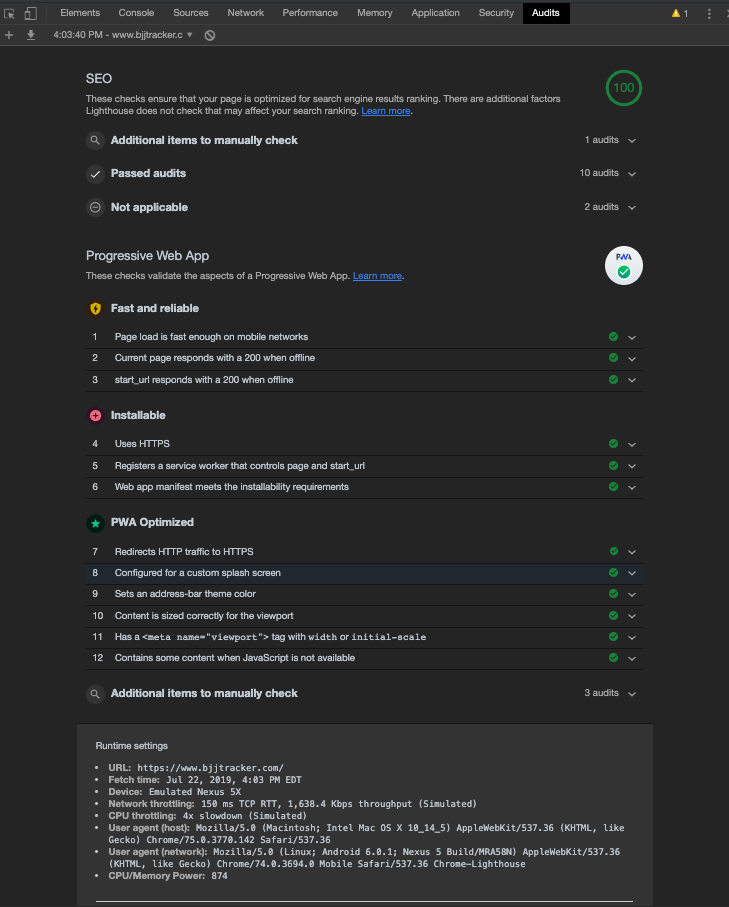
I had to make sure it qualified as a PWA. It needed offline support, as well as any other features that would make it feel like a native app. Google Chrome’s developer tools has a section called “Audits” that helped me identify such opportunities.

progressive web app audit

The first step was to create a “service worker” JavaScript file, and register it when BJJ Tracker loads.

if('serviceWorker' in navigator) {
  navigator.serviceWorker
           .register('/serviceWorker.js')
           .then(function() { console.log("Service Worker Registered"); })
           .catch(error => {
	        	console.log(error.message)
	    	})
}

I added the above code to a shared file that loads on every page of my app.  Below is an example service worker file. This file downloads any vital assets to a user’s device, and later loads them from the cache. Including a polyfill ensures that the cache methods exist (in case the browser does not support them natively). “We need to use the polyfill because the Cache API is not yet fully supported in all browsers.

importScripts('/cache-polyfill.js');

self.addEventListener('install', function(e) {
 e.waitUntil(
   caches.open('bjjtracker').then(function(cache) {
    return cache.addAll([
       '/',
       '/index',
       '/index?login',
       '/create-record?class',
       '/create-record',
       '/create-record?competition',
       '/view-record',
       '/view-month',
       '/privacy-policy',
       '/contact',
       '/view-more-data',
       '/account',
       '/css/bootstrap.min.css',
       '/css/bootstrap.min.css',
       '/css/bootstrap-theme.min.css',
       '/css/main.css',
       '/simpleMobileMenu/styles/jquery-simple-mobilemenu.css',
       'https://use.fontawesome.com/releases/v5.3.1/css/all.css',
       'https://fonts.googleapis.com/css?family=Roboto|Eczar&display=swap',
       'https://ajax.googleapis.com/ajax/libs/jquery/1.11.2/jquery.min.js',
     ]);
    }).catch(error => {
        console.log(error.message)
    })
 );
});

self.addEventListener('fetch', function(event) {
	event.respondWith(
		caches.match(event.request).then(function(response) {
			return response || fetch(event.request);
		}).catch(error => {
	        console.log(error.message)
	    })
	);
});

Read the documentation on Google’s developer portal.

Next, I created a “manifest” file. This file is written in JSON format. It helps describe how the web-app behaves once “installed”. It handles things such as app icon images and meta data.

{
  "name": "BJJ Tracker",
  "lang": "en-US",
  "short_name": "BJJ Tracker",
  "start_url": "/",
  "display": "standalone",
  "background_color": "#2a4d69",
  "theme_color": "#2a4d69",
  "description": "Track Brazilian Jiu Jitsu progress and fitness goals.",
  "icons": [{
    "src": "img/homescreen48.png",
    "sizes": "48x48",
    "type": "image/png"
  }, {
    "src": "img/homescreen72.png",
    "sizes": "72x72",
    "type": "image/png"
  }, {
    "src": "img/homescreen96.png",
    "sizes": "96x96",
    "type": "image/png"
  }, {
    "src": "img/homescreen144.png",
    "sizes": "144x144",
    "type": "image/png"
  }, {
    "src": "img/homescreen168.png",
    "sizes": "168x168",
    "type": "image/png"
  }, {
    "src": "img/homescreen192.png",
    "sizes": "192x192",
    "type": "image/png"
  }, {
    "src": "img/homescreen512.png",
    "sizes": "512x512",
    "type": "image/png"
  }]
}

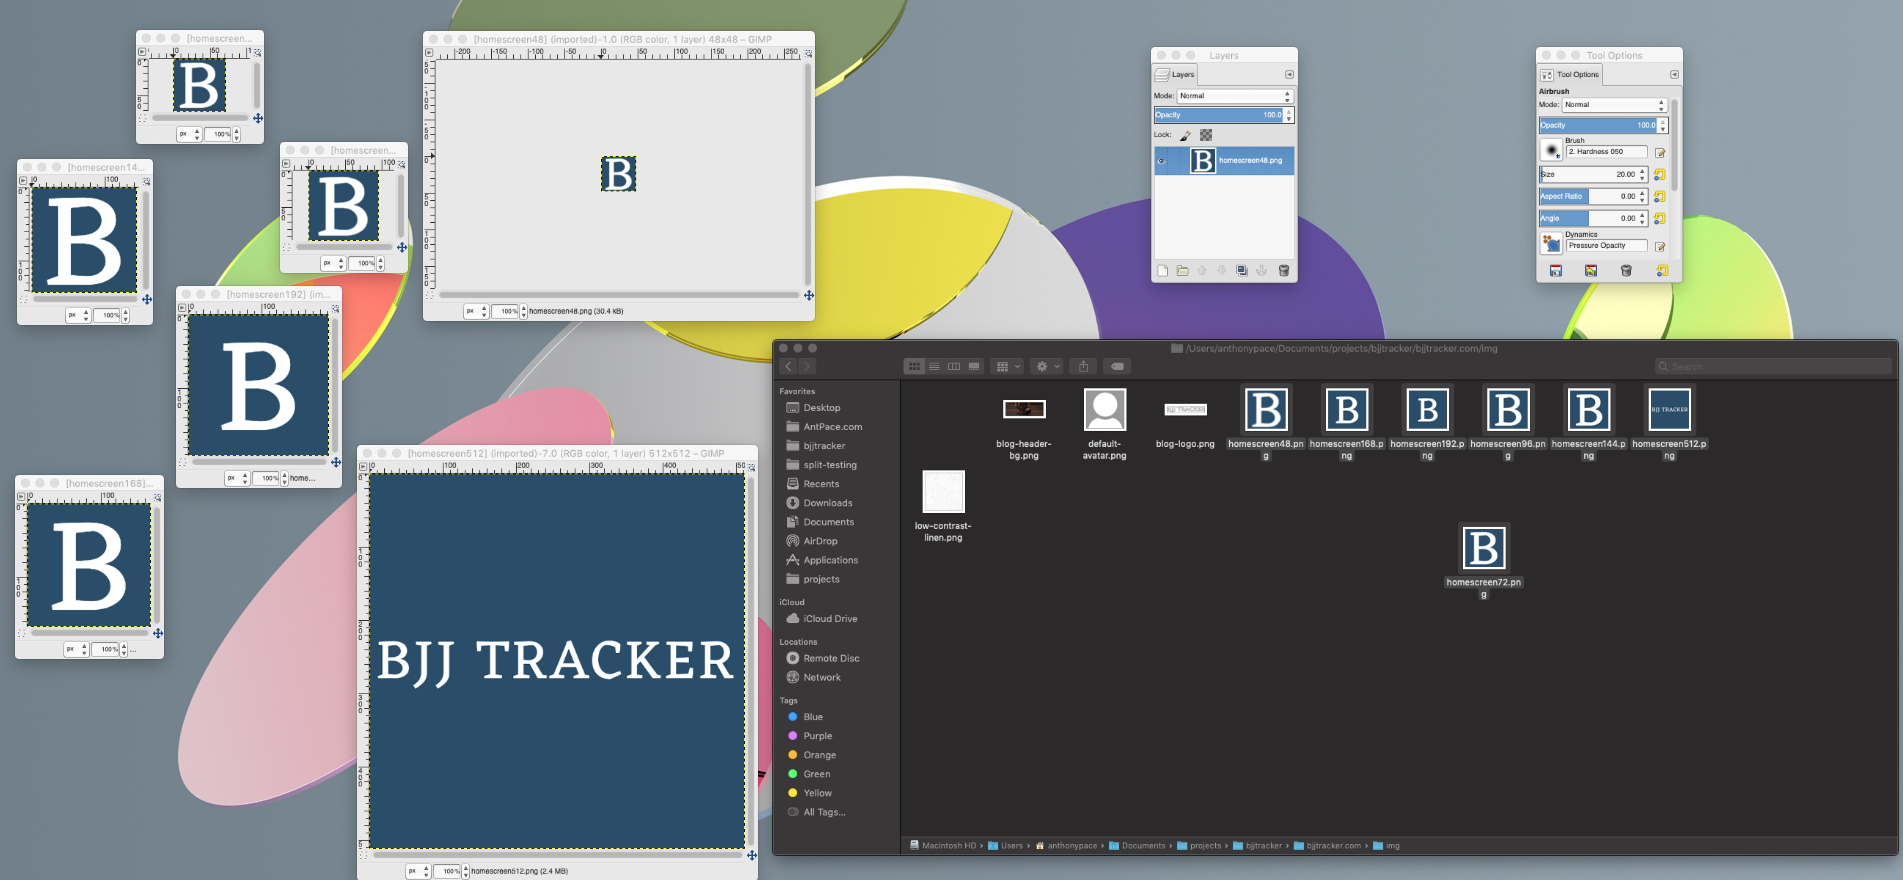
I created the image assets using open source software.

Image assets created with GIMP

The manifest needs to be referenced by the app. I added a link tag to a shared <head> file. Additionally, I included a few other meta tags that let browsers know to treat this website as an app.

<link rel="manifest" href="/manifest.json">
<meta name="theme-color" content="#005b96"/>
<meta name="mobile-web-app-capable" content="yes">
<meta name="apple-mobile-web-app-capable" content="yes">
<meta name="msapplication-starturl" content="/">

Android Studio

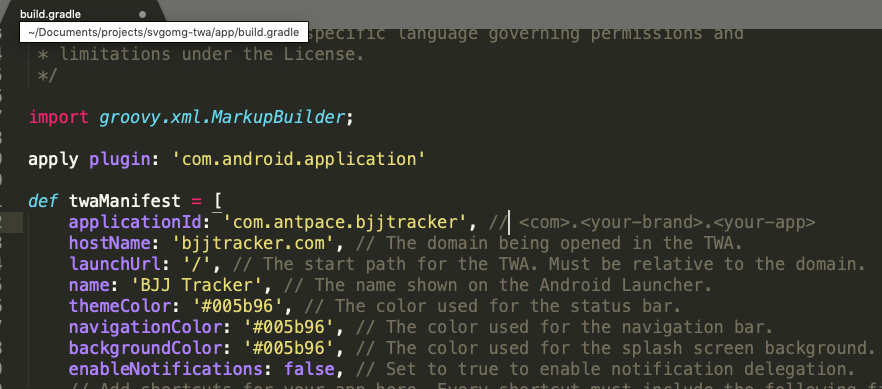
A signed app bundle is generated from Android Studio.  I use a sample project from Google Chrome Labs as a template. We can clone that repository, and update the “/svgomg-twa/app/build.gradle” settings to point to our PWA.

app gradle settings
TWA to wrap SVGOMG in an Android App

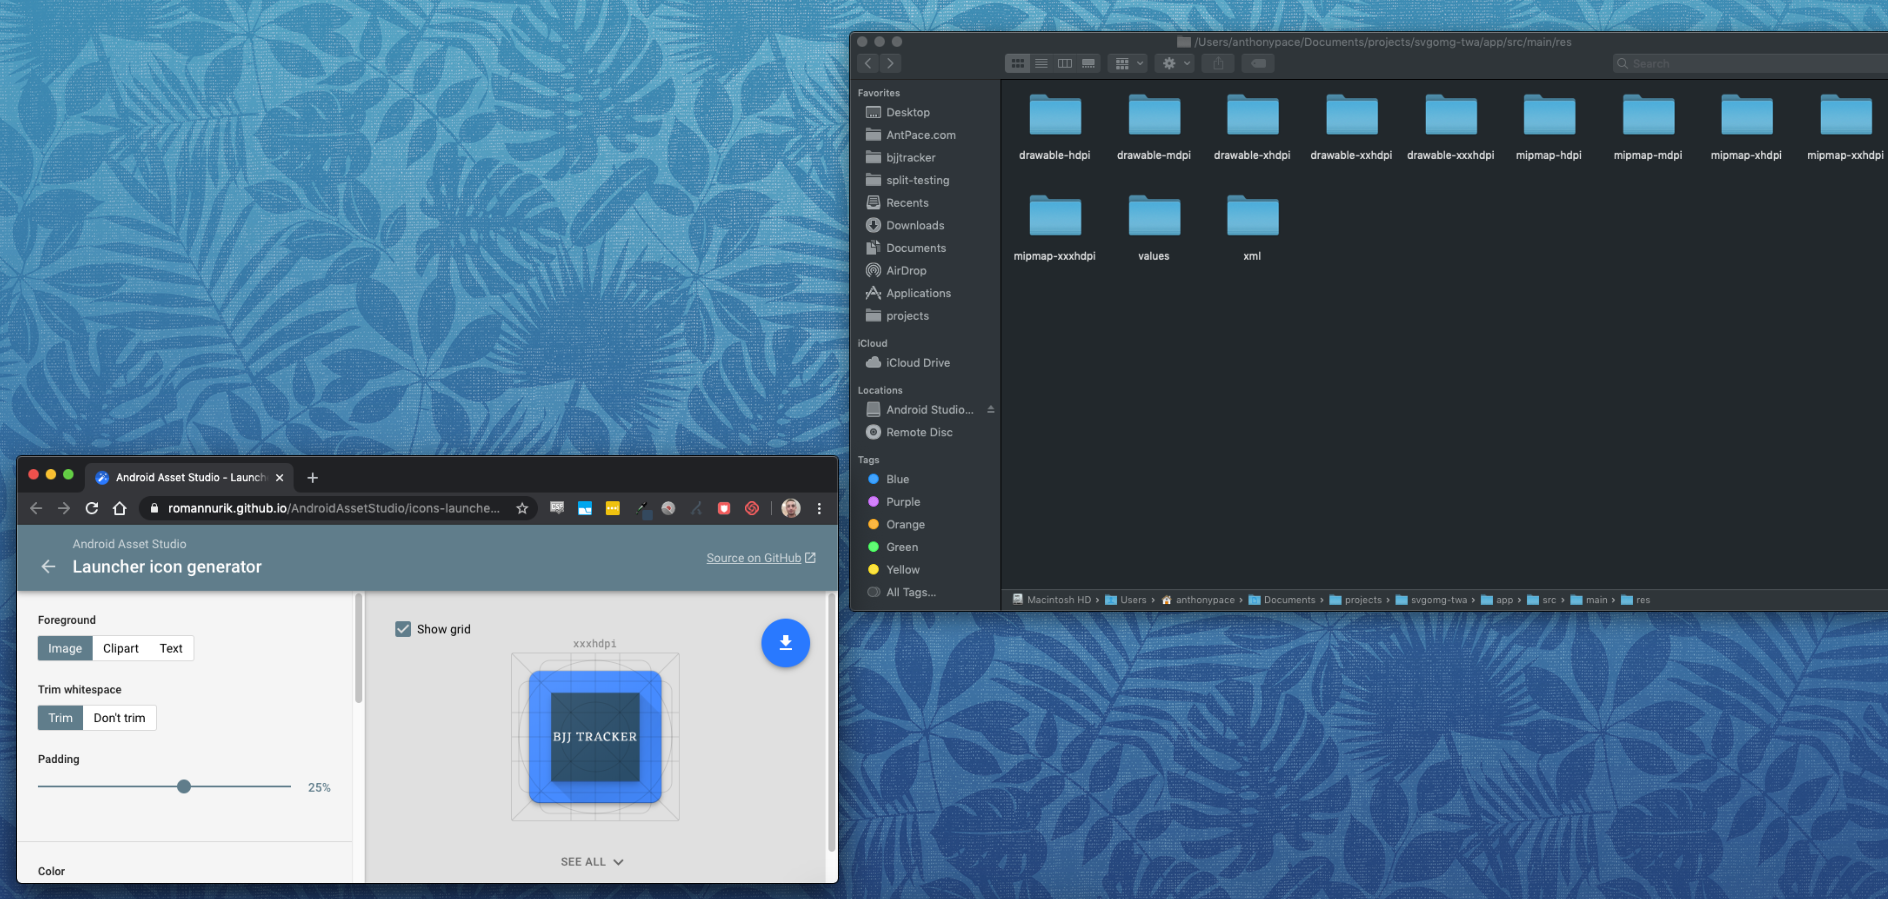
The app’s icon files can be generated using an online tool. The downloadable bundle can be dropped into “/svgomg-twa/app/src/main/res/“.

icon generator
https://romannurik.github.io/AndroidAssetStudio/icons-launcher.html

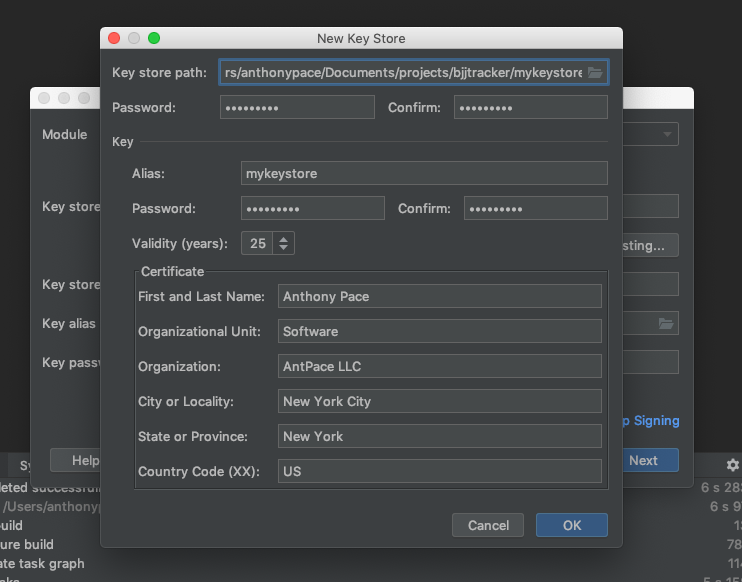
When creating the app bundle (“Build > Generate Signed Bundle/APK”) we’ll need a signing key. I created a new one, and named the file mykeystore.keystore.

key signing on mac

An “assetlinks.json” file needs to be uploaded to the web app’s host to satisfy the Digital Asset Links requirement.  “The Digital Asset Links protocol and API enable an app or website to make public, verifiable statements about other apps or websites.” This confirms ownership of the PWA so that it can be linked to our app in the Play Store. To generate this file, first we’ll need to get the fingerprint from the signing key we used:

keytool -list -v -keystore mykeystore.keystore -alias mykeystore -storepass password-here  -keypass password-here

That command shows us the certificate fingerprints. Copy the SHA256 value. It is used with Google’s Statement List Generator to create the contents of the assetlinks.json file. The statement file is then placed in a “.well-known” directory on the root of our PWA domain (eg. https://www.bjjtracker.com/.well-known/assetlinks.json)

Finally, I visited the Google Play Console. Besides uploading the .apk file, I also needed to include screenshots, featured image files, and complete a content rating survey – amongst other things. Since my app has been approved, you can now find it in the Google Play Market.

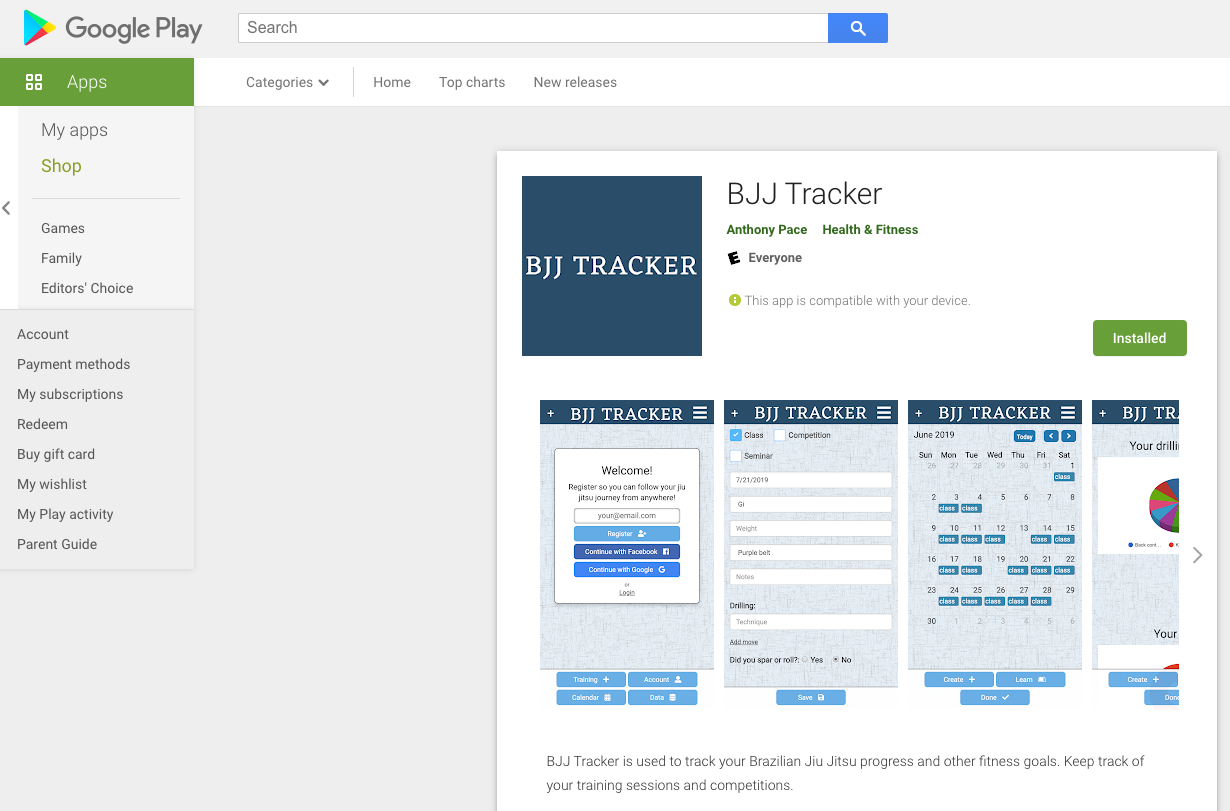
BJJ Tracker in the Google Play Store.

This app is a side project I use to toy with new web technologies. I’m trying to drive traffic to it so that I can experiment with optimizing conversions. I’m using it as a trial grounds for another software service called SplitWit. SplitWit is focused on optimizing conversions for the web, and helping digital marketers reach their goals. You can read about it on another post from this blog.

bjj tracker app

UI Component Pattern for a Simple PHP website

PHP UI component patterns

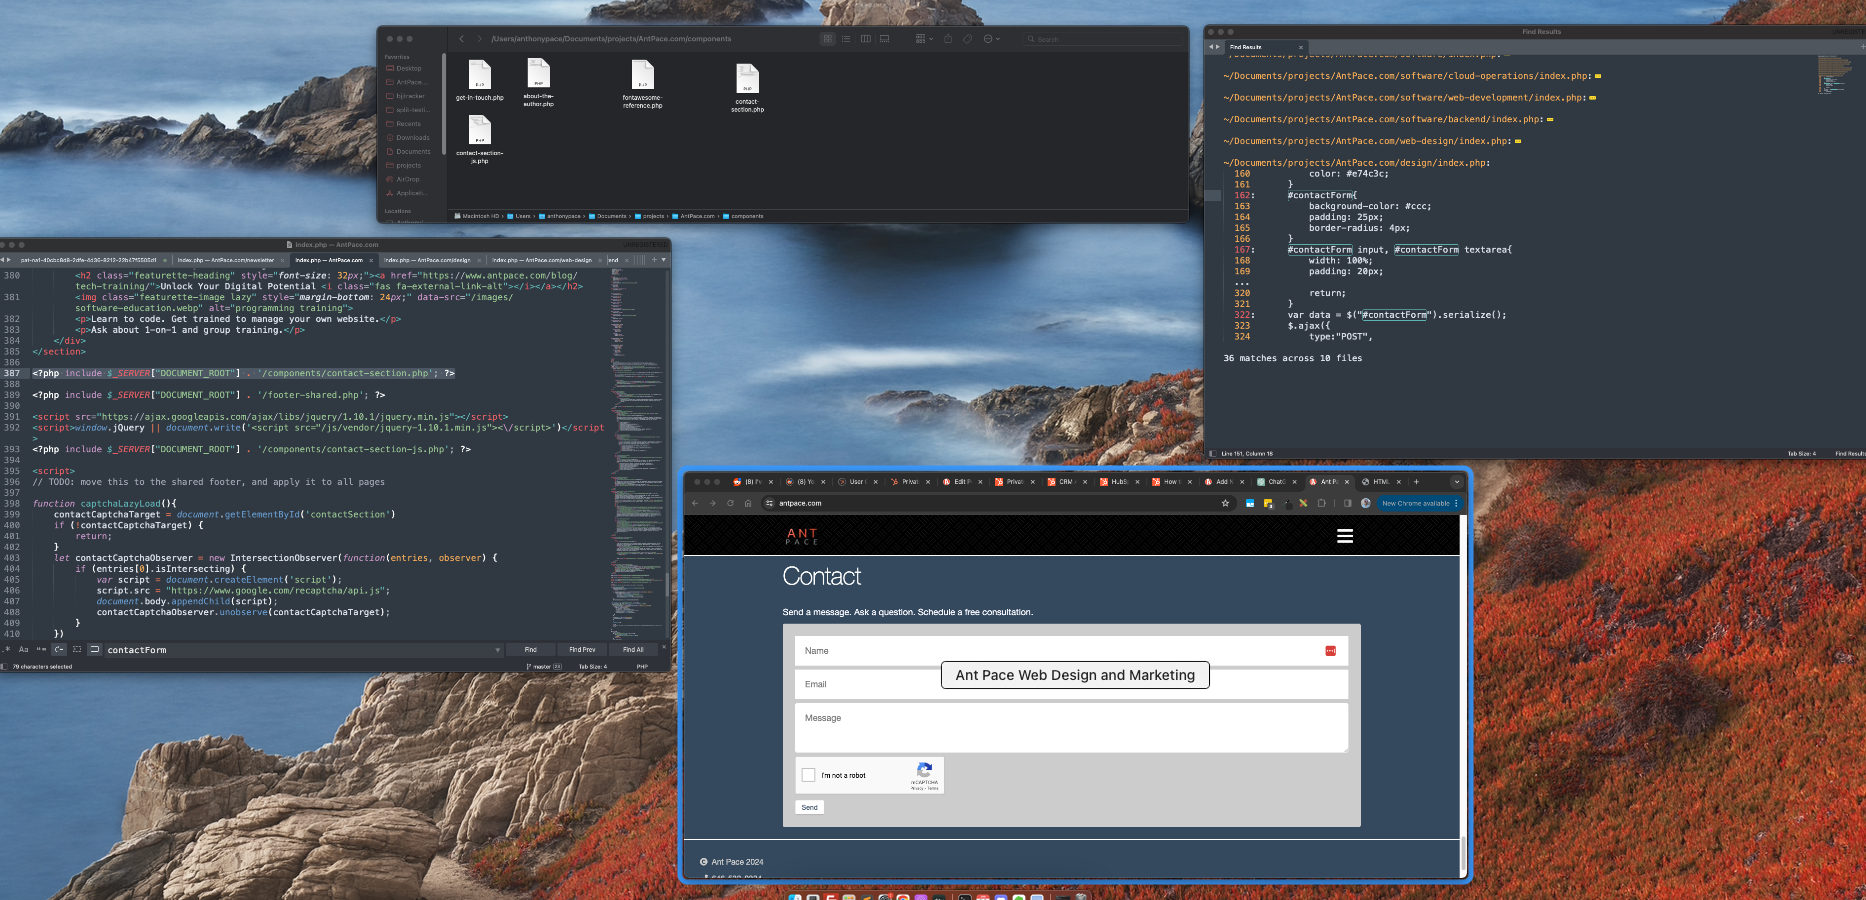
Reusable components are a staple of modern front-end web development. On my simple PHP website, I wanted to build user interface pieces, and reuse them across multiple pages. When I was creating a new page for a newsletter signup form, I realized that I was repeating a lot of code for a contact form section that is displayed on almost every page.

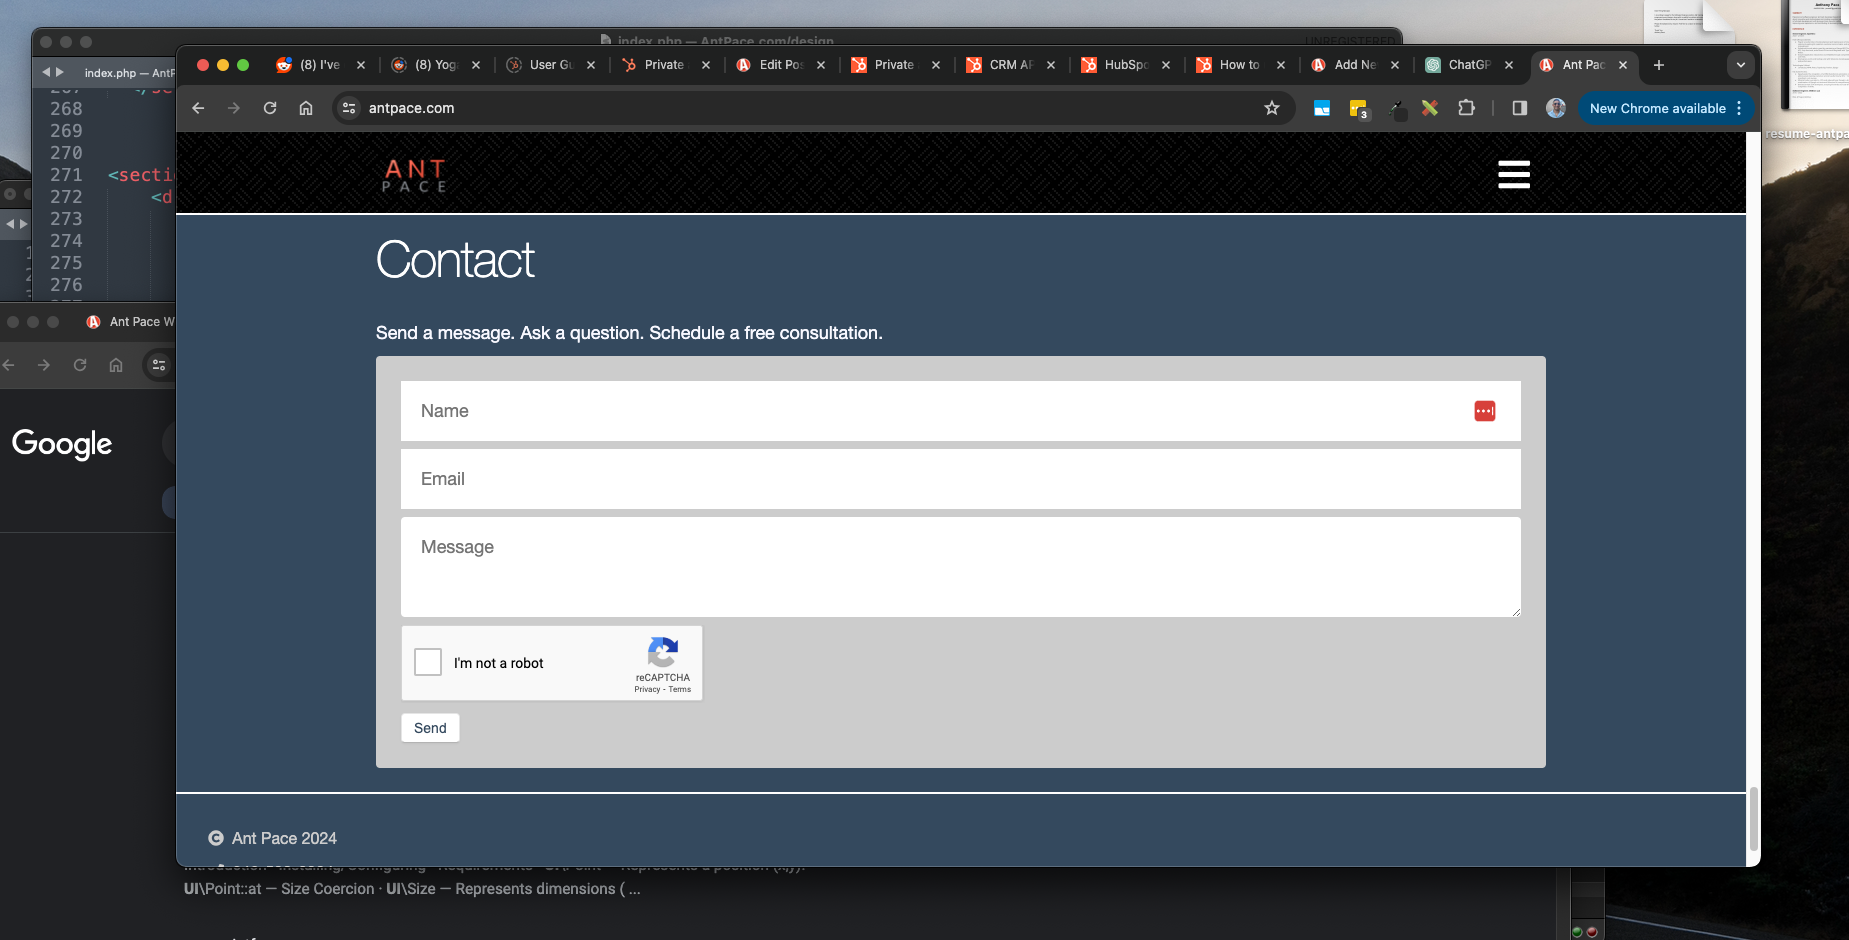
Contact form section

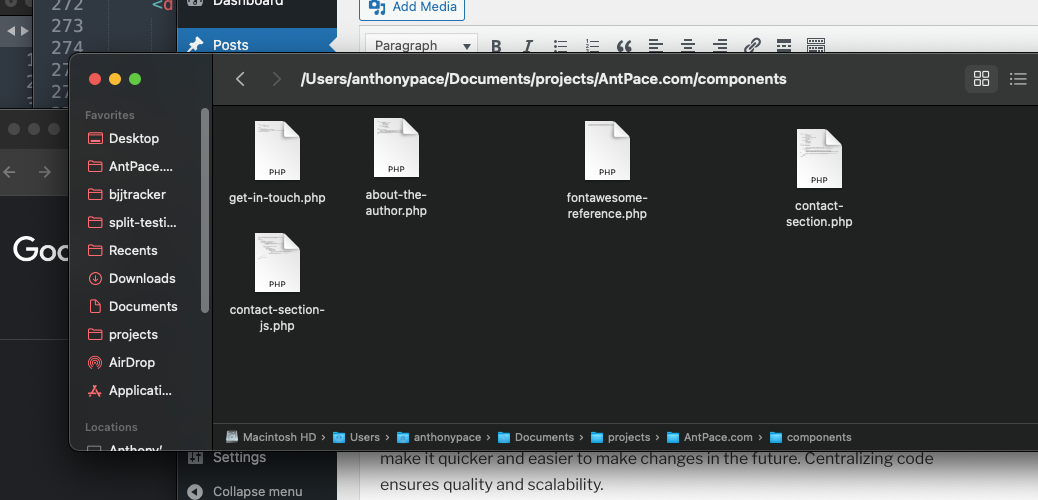
This website is so simple, it does not use any modern framework. The contact form itself is powered by AWS SES.  I created a directory in the root folder of the website called “components”. There, I put files containing HTML, CSS, and JavaScript code that would otherwise be repeated. Implementing this pattern will help my code adhere to the DRY (don’t repeat yourself) principle, and make it quicker and easier to make changes in the future. Centralizing code ensures quality and scalability.

UI component directory

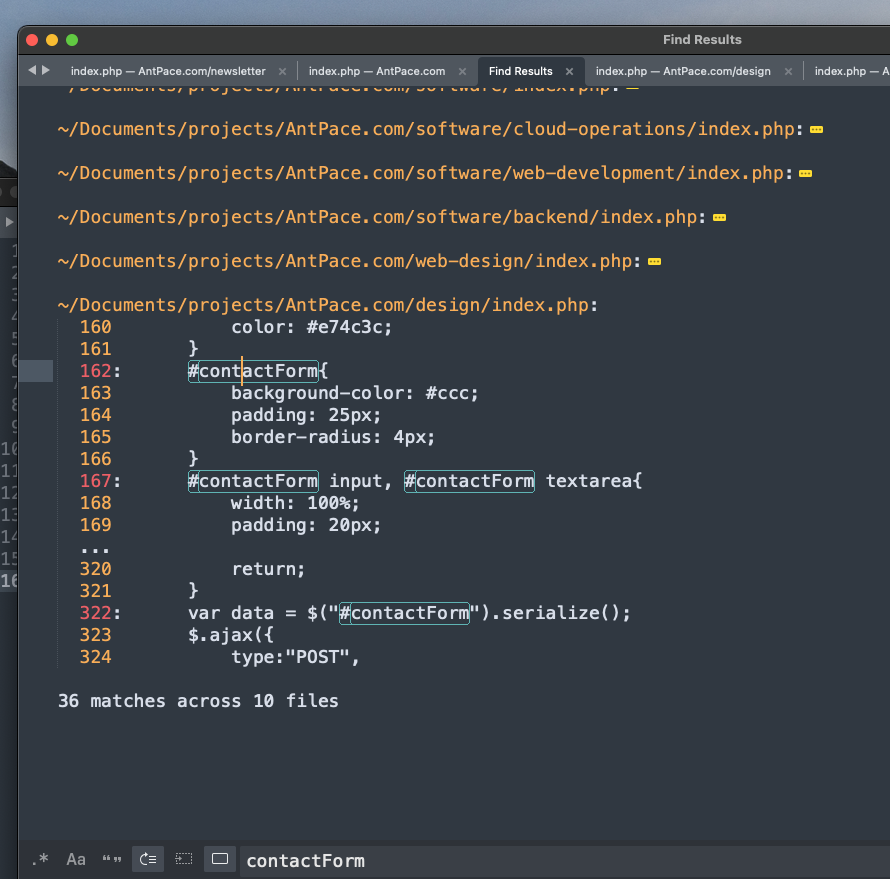
Searching the code base for references to this particular HTML revealed ten instances that could be cleaned up.

searching a code base

In the new component file, I copy and paste my HTML and CSS code.  Then, I go through each of the offending files, and replace the markup with a reference:

<?php include $_SERVER["DOCUMENT_ROOT"] . '/components/contact-section.php'; ?>

I also delete any CSS and JavaScript for this section that’s on the page. At first, I tried adding the JavaScript that controls this form’s functionality to that same file. It failed because it relies on a jQuery reference that is not loaded until lower in the document. Separating the JS code into its own file, similarly named as `contact-section-js.php`, and calling it below the library reference solved the issue. That code is responsible for passing the message along to the back-end, handling UI success/error notifications, and implementing CAPTCHA to thwart bots. Since it was a lot of files were morphed, I ran a quality assurance protocol to ensure nothing broke.