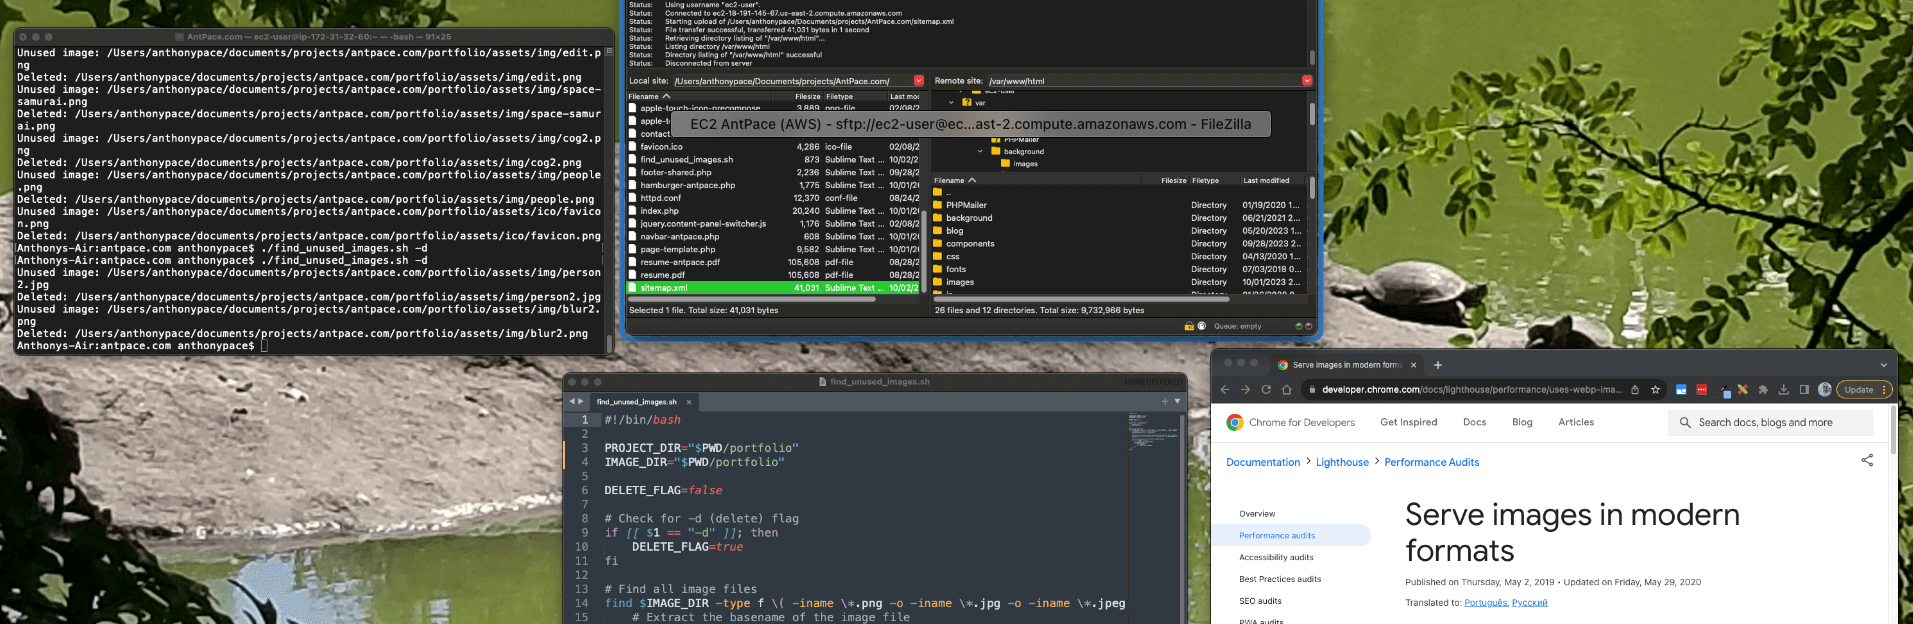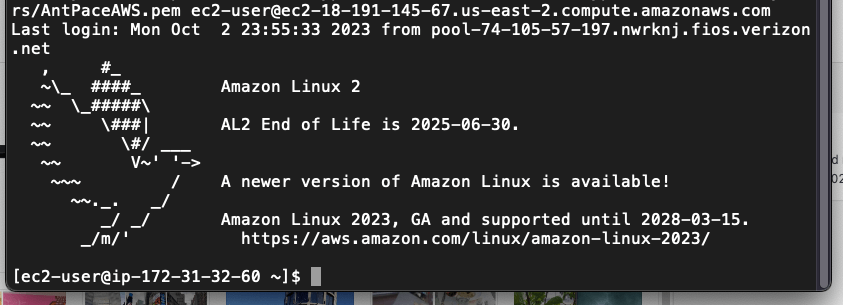
I searched Google for my own website, and noticed that some results were returning with my EC2 instance’s public hostname: http://ec2-18-191-145-67.us-east-2.compute.amazonaws.com/ – That’s a bad look for branding, and I figured it couldn’t be good for SEO. I fixed it by adding a new rewrite condition to my apache server’s httpd.conf file. The server runs on a Linux 2 image, and I found that file in this directory: /etc/httpd/conf/.
Initial Configuration
I already had a Virtual Host block that listens on port 80, responsible for making sure all traffic going through my domain name goes to the https://www.antpace.com. I just had to add the public DNS to the ServerAlias statement and add an additional RewriteCond statement:
<VirtualHost *:80>
    DocumentRoot "/var/www/html"
    ServerName "antpace.com"
    ServerAlias "www.antpace.com" "ec2-18-191-145-67.us-east-2.compute.amazonaws.com"
    RewriteEngine on
    RewriteCond %{HTTP_HOST} ^ec2-18-191-145-67.us-east-2.compute.amazonaws.com$ [OR]
    RewriteCond %{SERVER_NAME} =antpace.com [OR]
    RewriteCond %{SERVER_NAME} =www.antpace.com
    RewriteRule ^ https://www.antpace.com%{REQUEST_URI} [END,NE,R=permanent]
</VirtualHost>
Handling SSL Traffic
After restarting the server, I did another search, and saw some pages still returning with the SSL encrypted address https://ec2-18-191-145-67.us-east-2.compute.amazonaws.com/.

To handle traffic going there, I needed to add another Virtual Host block that would listen on port 443. You’ll notice that I had to reference my SSL certificates that were installed via Let’s Encrypt.
<VirtualHost *:443>
    DocumentRoot "/var/www/html"
    ServerName "antpace.com"
    ServerAlias "www.antpace.com" "ec2-18-191-145-67.us-east-2.compute.amazonaws.com"

    SSLEngine on
    SSLCertificateFile /etc/letsencrypt/live/antpace.com/fullchain.pem
    SSLCertificateKeyFile /etc/letsencrypt/live/antpace.com/privkey.pem
    SSLCertificateChainFile /etc/letsencrypt/live/antpace.com/chain.pem

    RewriteEngine on
    RewriteCond %{HTTP_HOST} ^ec2-18-191-145-67.us-east-2.compute.amazonaws.com$ [OR]
    RewriteCond %{HTTP_HOST} ^antpace.com$ [OR]
    RewriteCond %{HTTP_HOST} ^www.antpace.com$
    RewriteRule ^ https://www.antpace.com%{REQUEST_URI} [END,NE,R=permanent]
</VirtualHost>
Unfortunately, adding this block broke the site temporarily. It resulted in a redirect loop, in tandem with the previous block. I tried to adjust them both, resulting in the following:
<VirtualHost *:80>
    DocumentRoot "/var/www/html"
    ServerName "antpace.com"
    ServerAlias "www.antpace.com" "ec2-18-191-145-67.us-east-2.compute.amazonaws.com"

    RewriteEngine on
    # Redirect all HTTP traffic to HTTPS
    RewriteCond %{HTTPS} off
    RewriteRule ^ https://%{HTTP_HOST}%{REQUEST_URI} [L,R=301]
</VirtualHost>

<VirtualHost *:443>
    DocumentRoot "/var/www/html"
    ServerName "antpace.com"
    ServerAlias "www.antpace.com" "ec2-18-191-145-67.us-east-2.compute.amazonaws.com"

    SSLEngine on
    SSLCertificateFile /etc/letsencrypt/live/antpace.com/fullchain.pem
    SSLCertificateKeyFile /etc/letsencrypt/live/antpace.com/privkey.pem
    SSLCertificateChainFile /etc/letsencrypt/live/antpace.com/chain.pem

    RewriteEngine on
    # Redirect all non-preferred hostnames to the preferred hostname
    RewriteCond %{HTTP_HOST} ^ec2-18-191-145-67.us-east-2.compute.amazonaws.com [NC,OR]
    RewriteCond %{HTTP_HOST} ^antpace.com [NC]
    RewriteRule ^ https://www.antpace.com%{REQUEST_URI} [L,R=301]
</VirtualHost>
Although this configuration resolved the redirect loop, it failed to address the original issue. I discovered that my system had a separate configuration file for SSL traffic: /etc/httpd/conf.d/ssl.conf. I added the redirect rule and certificate references to the 443 Virtual Host block within this file, but the redirect issue persisted.
Diagnosing the Issue
Executing sudo apachectl -S revealed a conflicting Virtual Host on port 443 in httpd-le-ssl.conf. I moved the rewrite rules to this file, yet the redirect remained elusive. Suspecting a browser cache issue, I verified the redirect using curl:
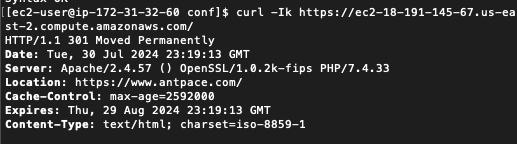
The 301 Moved Permanently response confirmed the redirect to https://www.antpace.com. Since the redirection works when tested with curl -k but not in a browser, the issue likely stems from the browser not accepting the SSL certificate due to the mismatch. Browsers are more strict with SSL certificate validation than curl -k.
I attempted to add the public host name as a subject alternative name (SAN) in my existing SSL certificate, but Let’s Encrypt refuses to issue certificates for EC2 hostnames. This restriction is due to Let’s Encrypt’s policy to prevent abuse. To circumvent this, I generated a self-signed certificate:
sudo mkdir -p /etc/ssl/private
sudo mkdir -p /etc/ssl/certs
sudo chmod 700 /etc/ssl/private
sudo openssl req -x509 -nodes -days 365 -newkey rsa:2048 -keyout /etc/ssl/private/ec2-selfsigned.key -out /etc/ssl/certs/ec2-selfsigned.crt
Final Configuration
I created a new Apache configuration file for the EC2 redirection and ensured no conflicts with existing configurations:
sudo nano /etc/httpd/conf.d/ec2-redirect.conf
Here’s the contents:
<IfModule mod_ssl.c>
<VirtualHost *:443>
    DocumentRoot "/var/www/html"
    ServerName "ec2-18-191-145-67.us-east-2.compute.amazonaws.com"

    SSLEngine on
    SSLCertificateFile /etc/ssl/certs/ec2-selfsigned.crt
    SSLCertificateKeyFile /etc/ssl/private/ec2-selfsigned.key

    RewriteEngine on
    # Redirect EC2 URL to the preferred domain
    RewriteRule ^ https://www.antpace.com%{REQUEST_URI} [L,R=301]
</VirtualHost>
</IfModule>
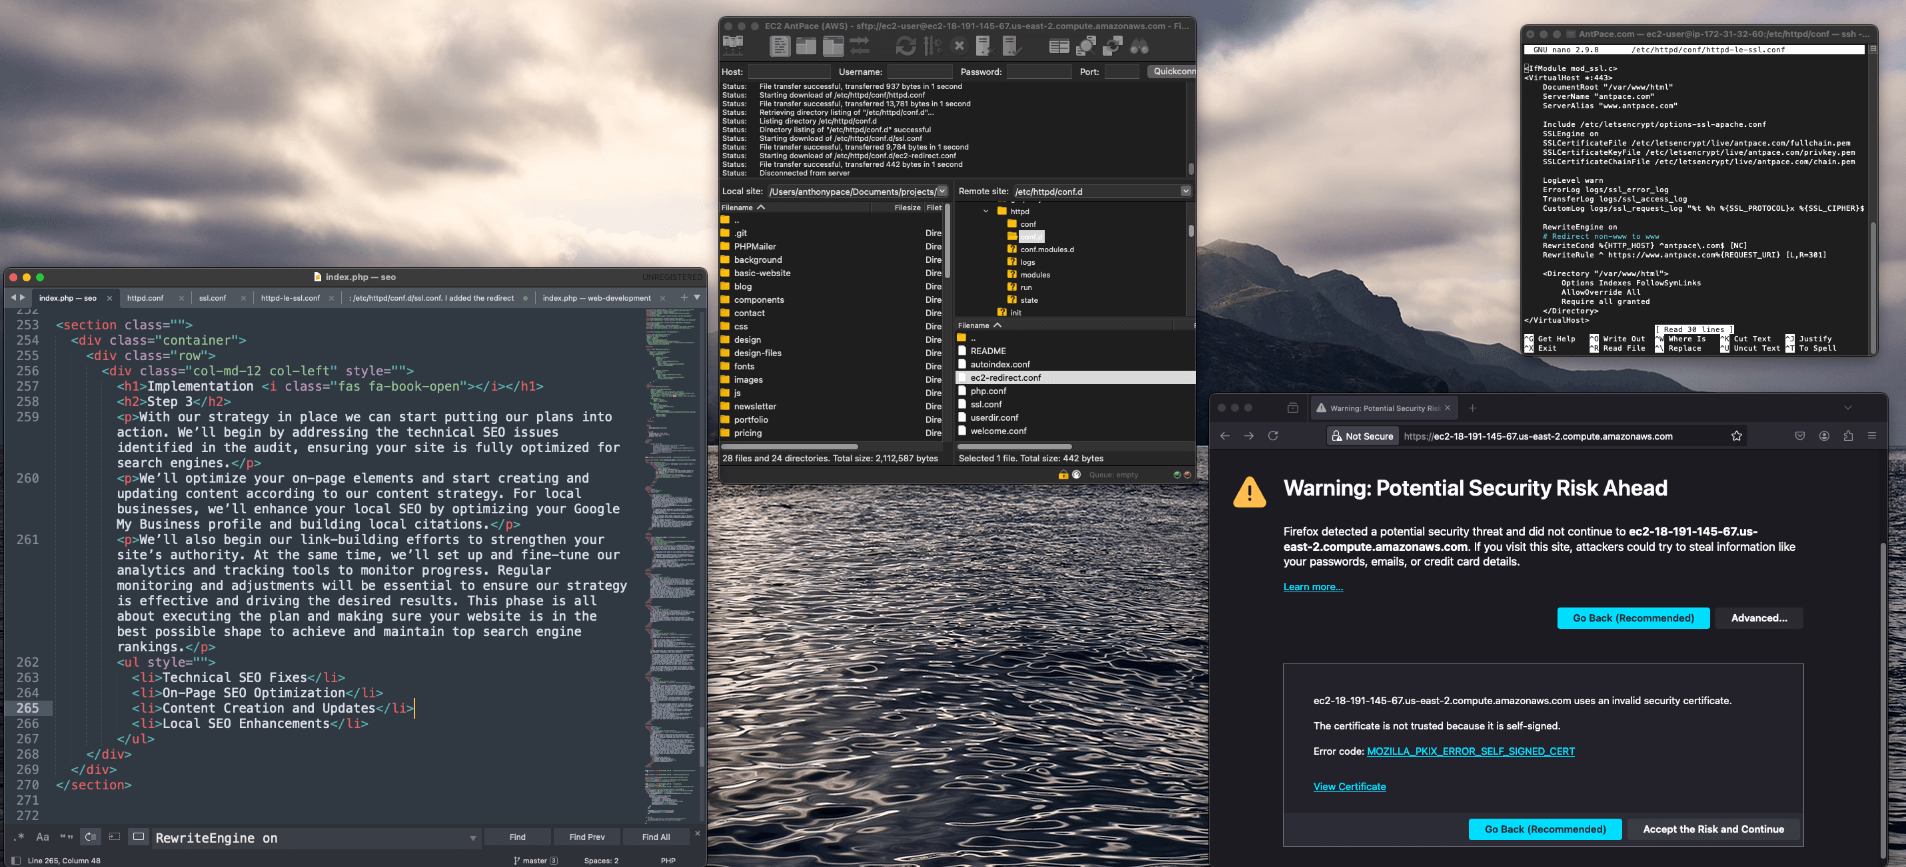
Upon restarting Apache, the 301 redirect functioned correctly in the browser, albeit with an initial security warning due to the self-signed certificate. Accepting the certificate led me to the desired URL. This project underscored the importance of meticulous configuration and validation in managing web traffic and ensuring optimal SEO performance.
Pro-tip: Each time I had to edit any of these sever configuration files, I did so from the command line using the Nano text editor. I learned along the way that I could select multiple lines of text by pressing “Ctrl + Shift + 6”, pressing the arrows to expand the selection, and then “Ctrl + K” to remove content.
Alternative Approaches
To stop this problem from arising, even to begin with, we can take an alternative approach. It is possible, when creating a new EC2 instance, to disable the auto-assign public IP address in the network settings. This will launch the instance without a public IP address.